This is an AAR of a campaign I'm involved with over at the BFC forums GM-ed by our very own Kohlenklau (wait for applause while Kohlenklau takes a bow) with me as the Allied CO playing out our moves in PzC and IanL and ChappyCanuck fighting the CM battles.
The situation:
Gentlemen of XXX Corps.

Nathangun address's his troops before going into action.
Today we will advance to rescue our brothers in arms in Arnhem. It will be a hard battle but I'm told jerry has thrown in the towel.
We will be fighting young boys and old men, so we'll hit jerry for six and be home in time for Christmas.

Has it turned out there was much resistance from the 'old men'.
Today our orders are to liberate Valkenswaard.
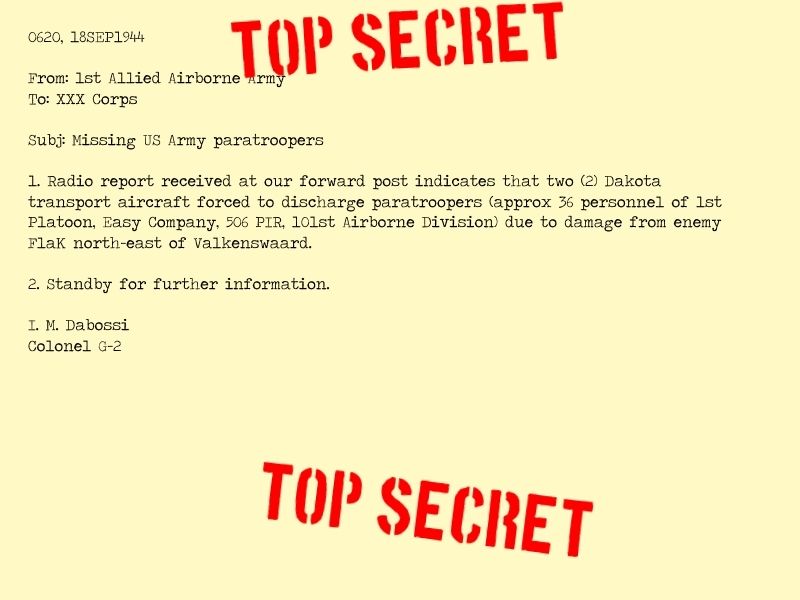
It is now 0600, 18 September 1944. The weather for today is warm and damp, with a light breeze blowing from the south west. The sky is slightly overcast.
Irish Guards Group will attack and seize Valkenswaard in preparation for tomorrow's XXX Corps assault on Eindhoven.
3 rifle companies of 3/Irish Guards, 3 squadrons of 2/Irish Guards (approx grand total of 15 Shermans due to damaged and KO'd vehicles), 1 troop of Recce-
Irish Guards (3 Stuarts) and the 25 pounders of the 55th Field Artillery Battery (8 guns). The Canadian "Tiffies" of No. 129 and No. 143 Squadron (4 planes each) will form "cab ranks" and signal your ALO when they come on station...also you have the air recon boys from RAF 662 Squadron. As reinforcements, XXX Corps has allocated 1 additional battery of 25 pounders (8 guns) from the 4th Royal Irish Horse Artillery as well as 23rd Canadian Field Co. and the 14th Field Squadron. Consult your PzC arrival schedule for the details. The Division Ordnance Shop is working hard to patch up a few shermans damaged in yesterday's battles and will dispatch them up with fresh crews as soon as available.
Previous scouting forays indicate you are opposed by relatively low quality troops in prepared positions. Each one is a light company in strength with some
Flak guns in support. One battery of Artillery typically support these 2nd rate blokes. One last thing...Air Recce and the Intel chaps have suggested
Jerry may have a small panzer unit in Walre being held in reserve.
Use standard tactical procedures to soften up the enemy with both direct and indirect fire. Conduct coordinated assaults as needed. Maintain lines of
communication and supply.
OCCUPY Valkenswaard: 30 points
OTHER HEXES: CONSULT PzC map for points.
DESTROY Enemy Units: as per the usual SOP
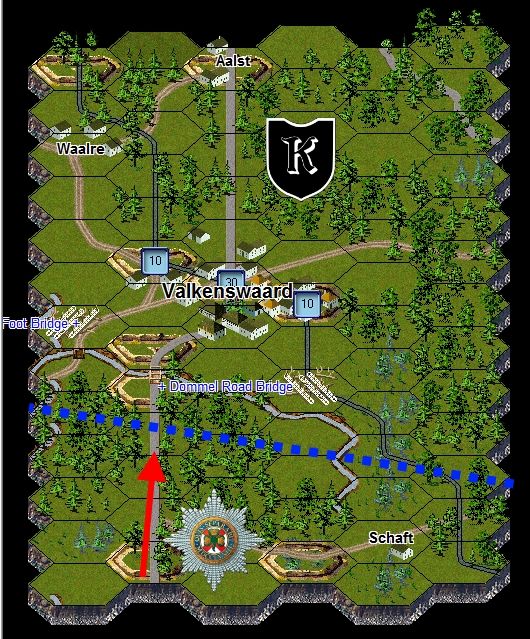
Here are our opening moves.
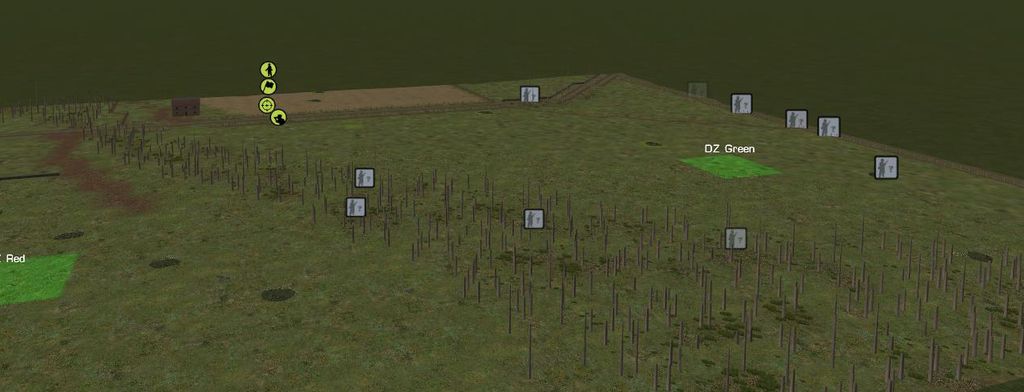
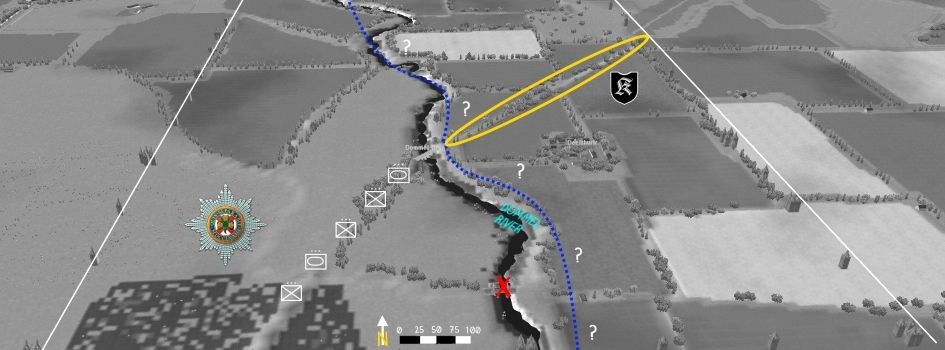
I started the turn with a aerial reconnaissance we've spotted some enemy troops dug in to the north-east and in the woods to the north of Valkenswaard.
I moved units up the road and managed to get a squadron of Shermans across the river.
Having spotted enemy blocking the way across the bridge, I ordered air strikes plus a artillery bombardment in preparation for an assault across the river.
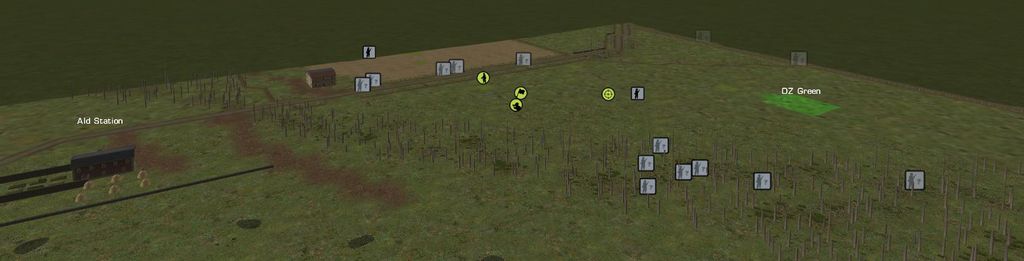
Units that will participate in the assault are:
1/3 Irish Guards
2/3/2 Irish Guards
1/3/2 Irish Guards
All available air and artillery assets will support the attack.

Here is our OOB.
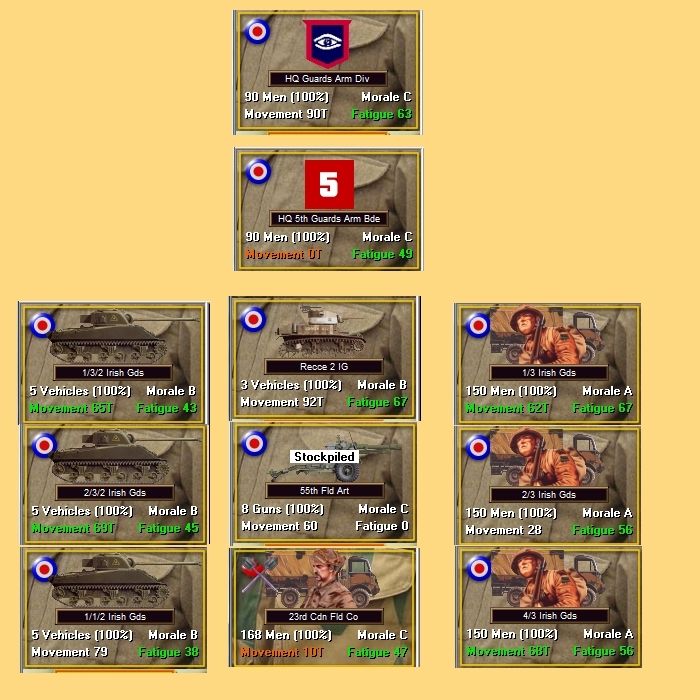
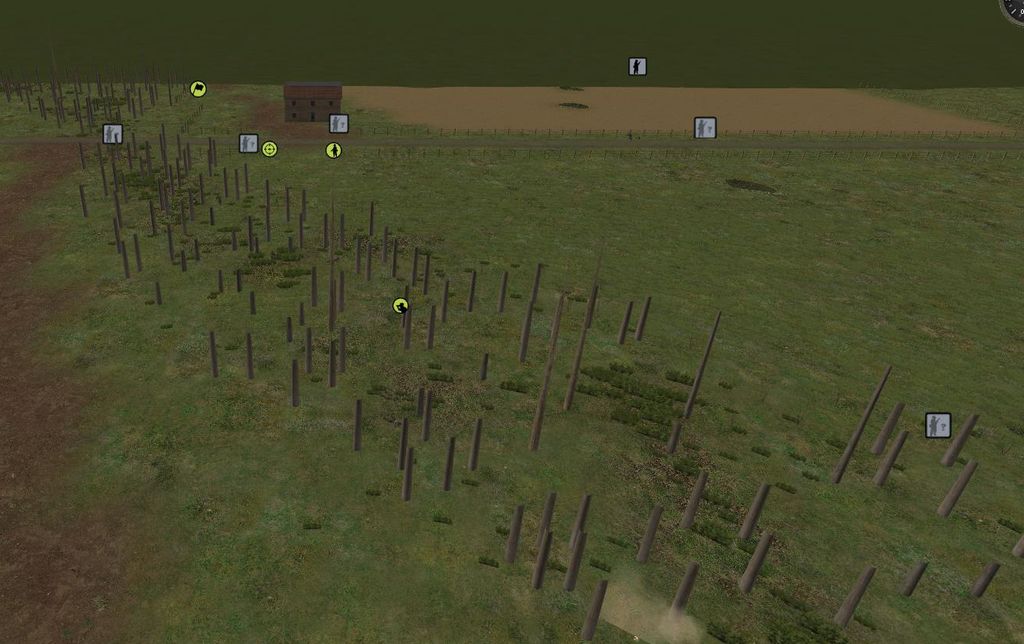
Photo Recce Spitfire provided this snapshot for the ops boys.
We're still waiting to hear if the bridge was captured intact.
Either way, you must get that road!
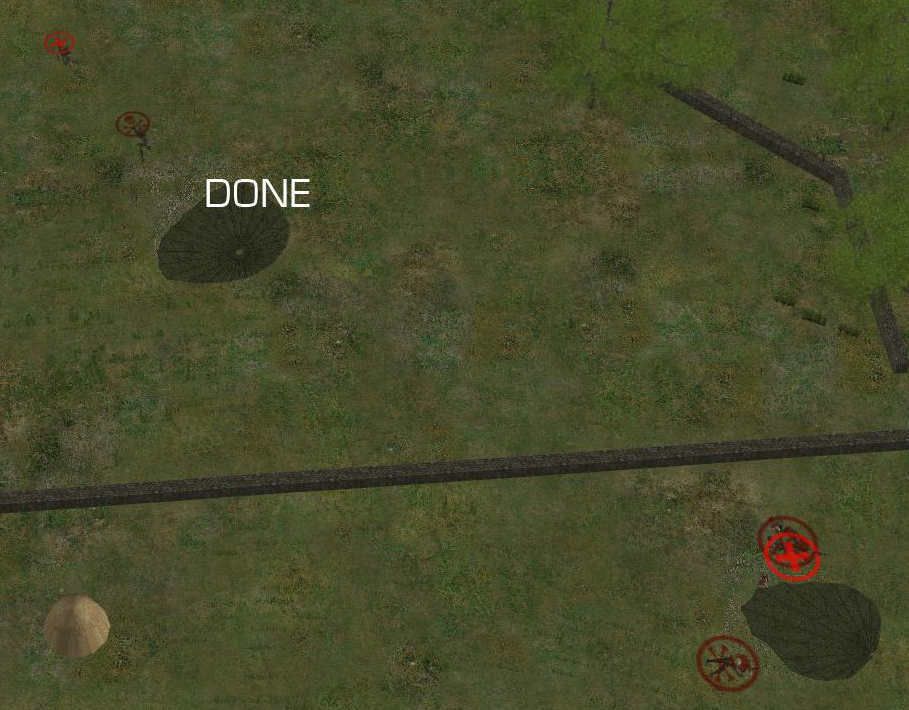
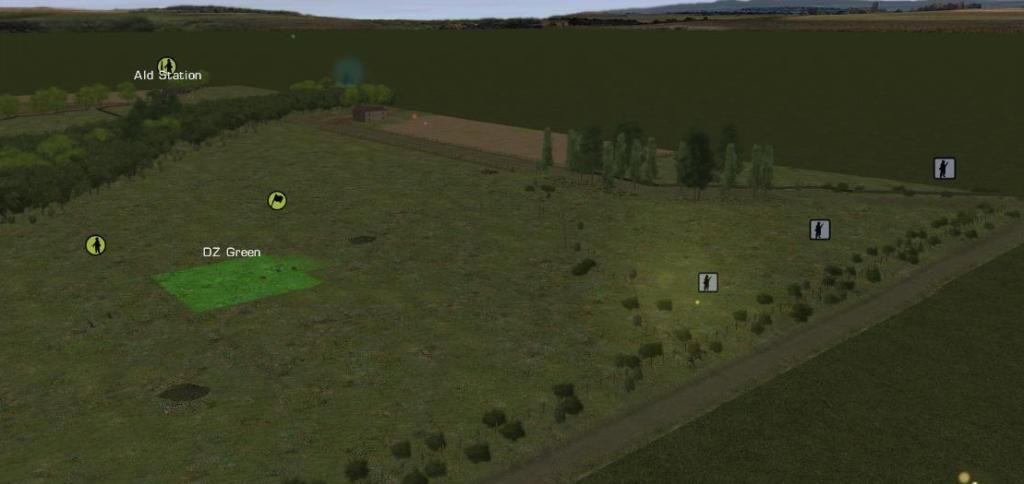
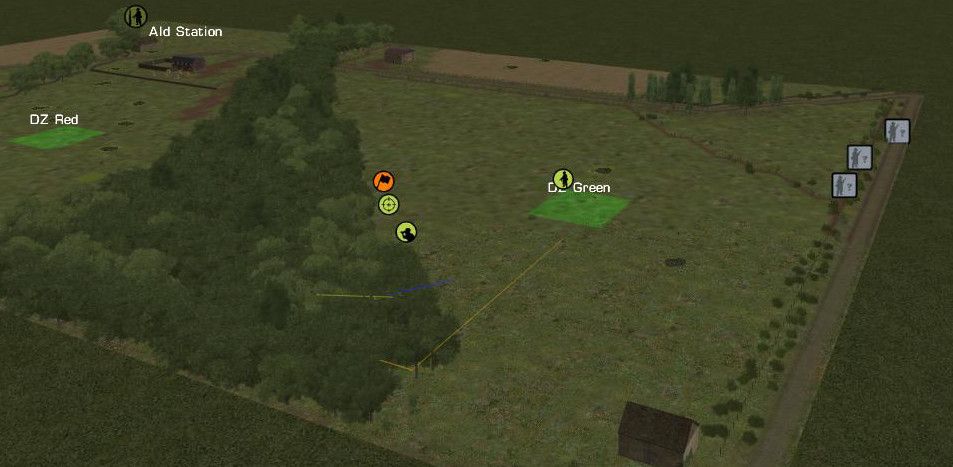
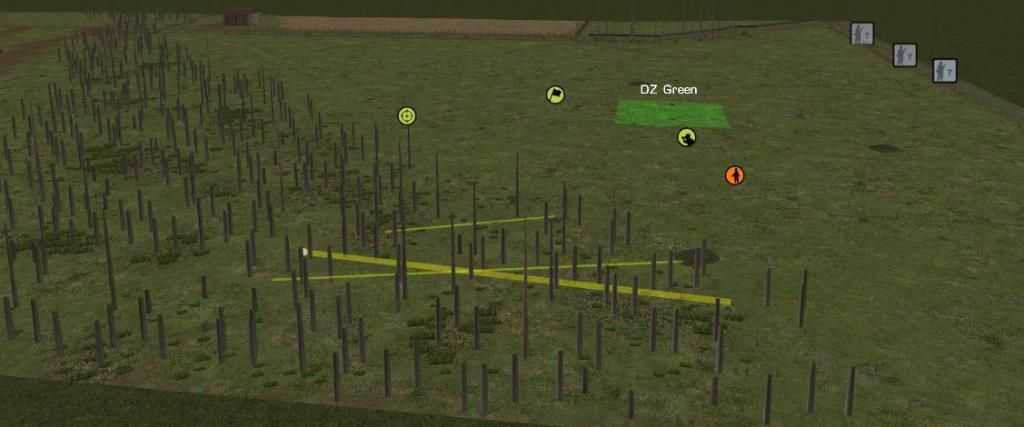
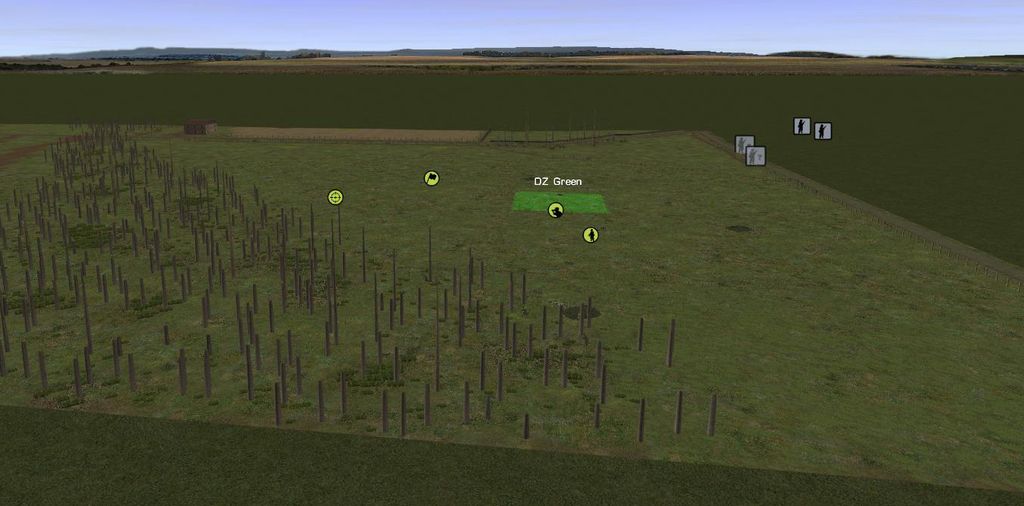
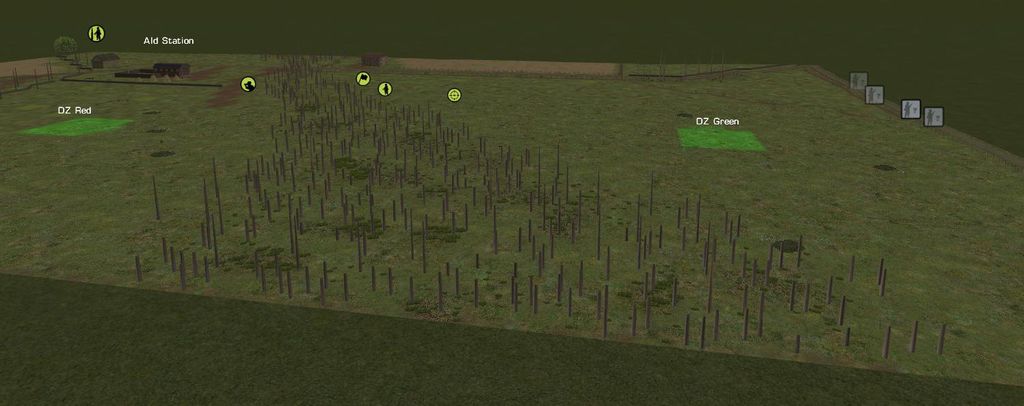
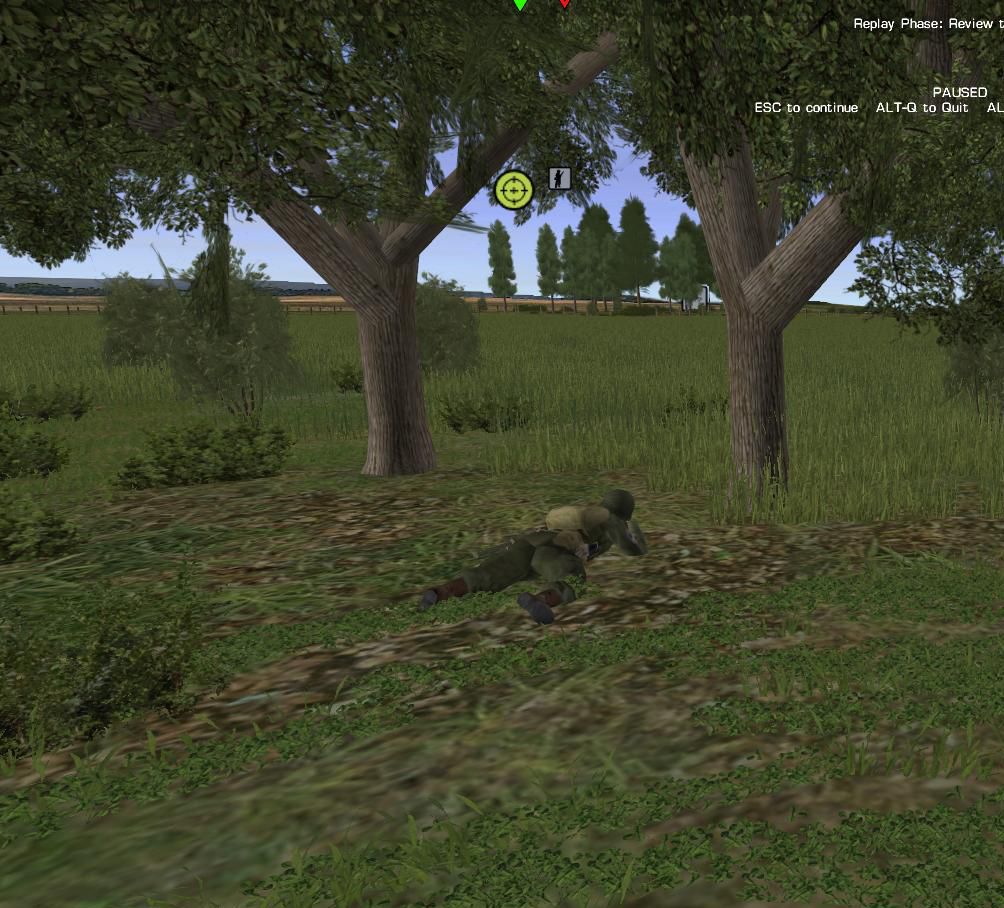
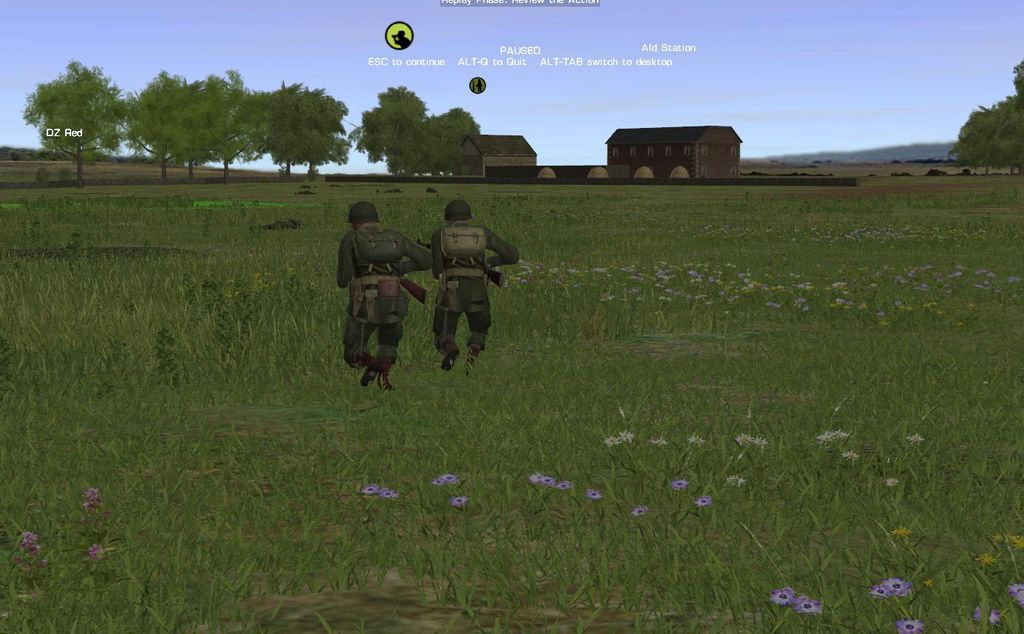
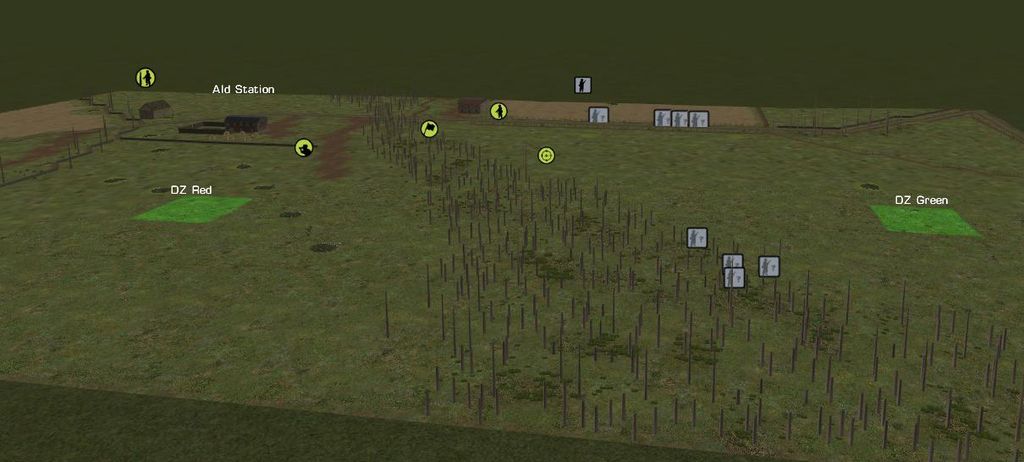
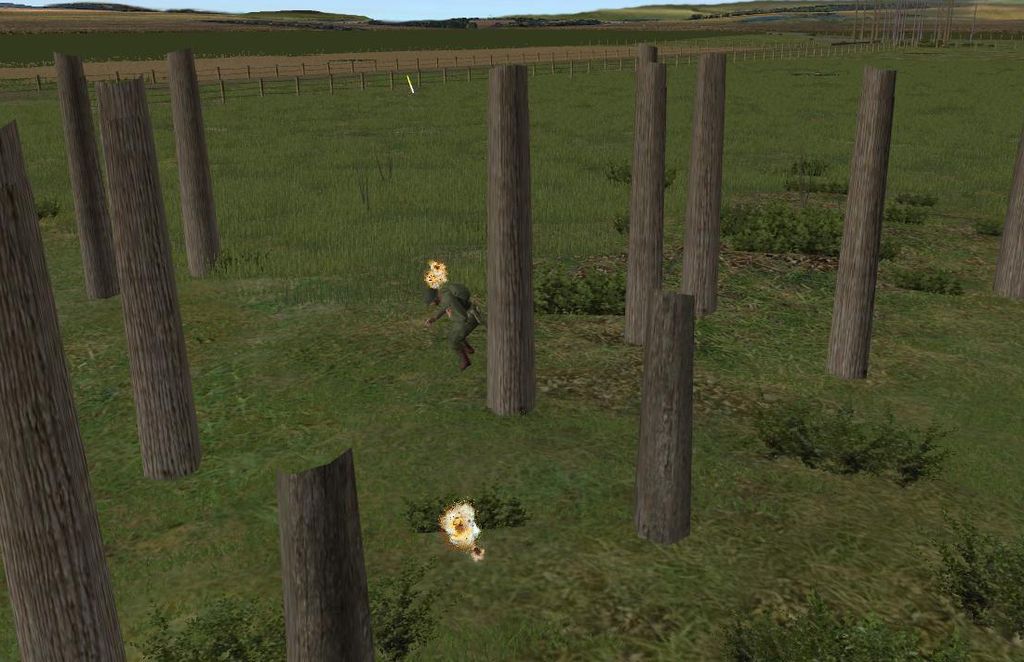
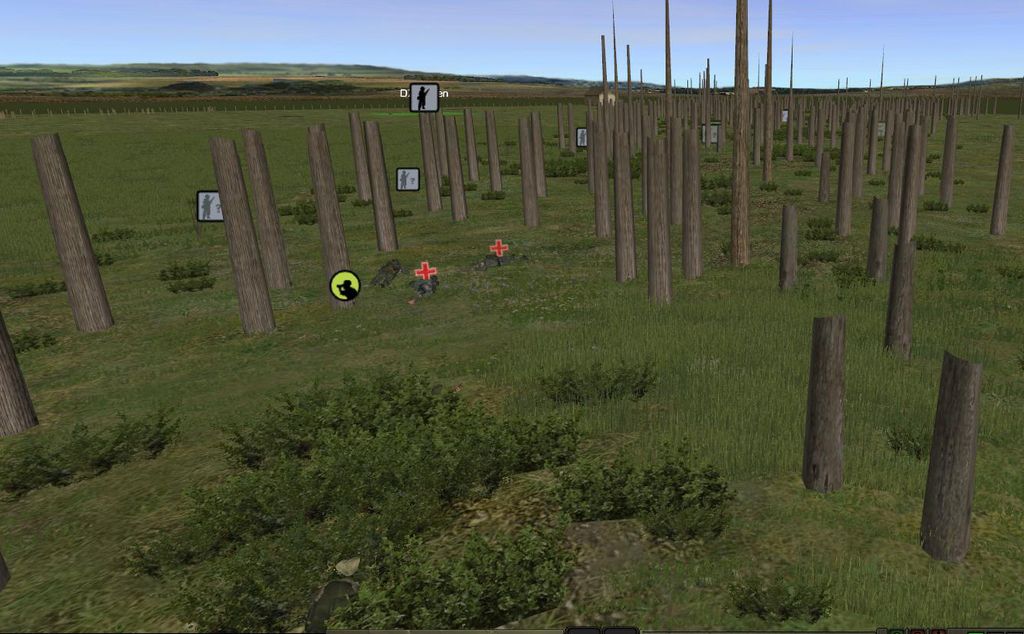
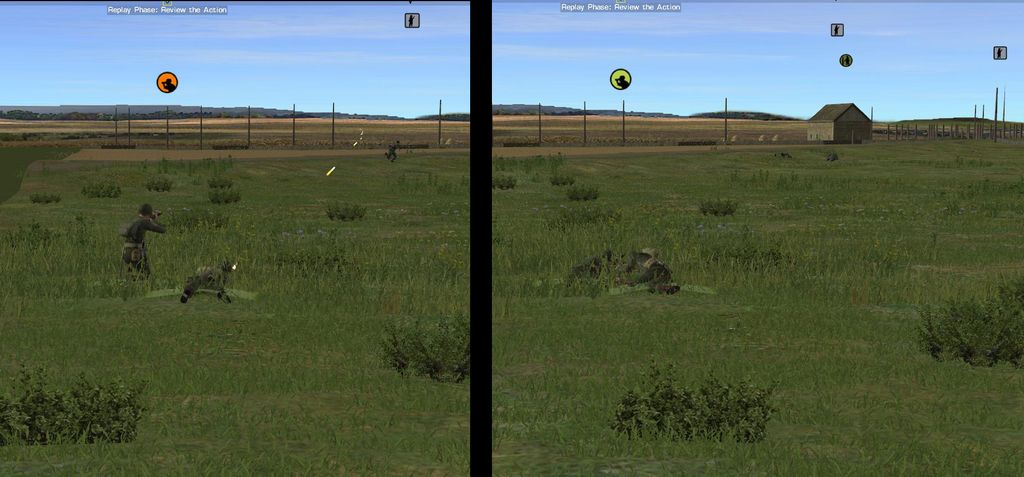
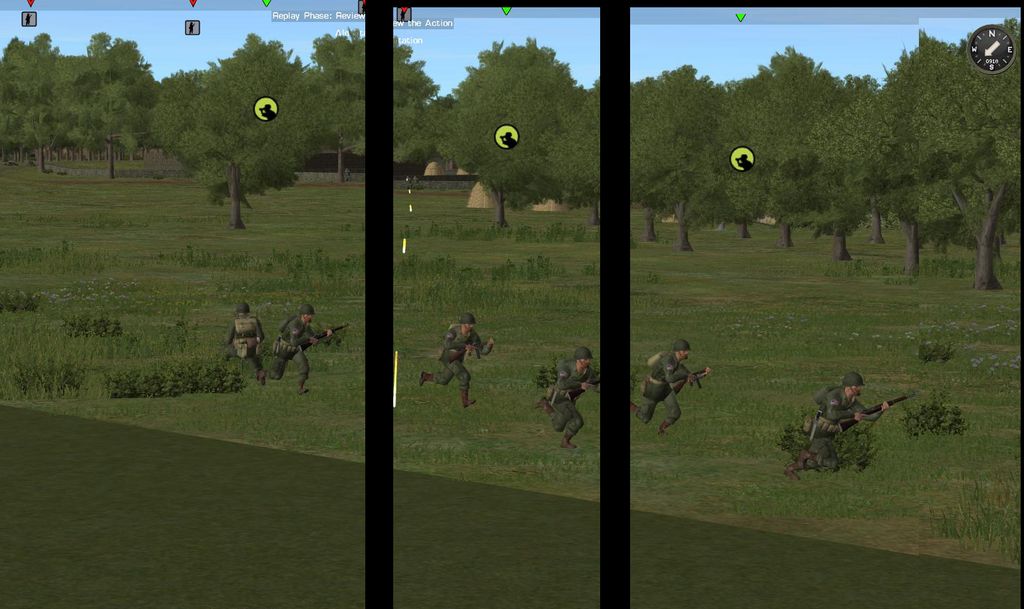
In the CM phase of the turn there were 3 battles, 2 mini and one assault commanded by ChappyCanuck which is still in progress, here: Assault on hex (1,7)
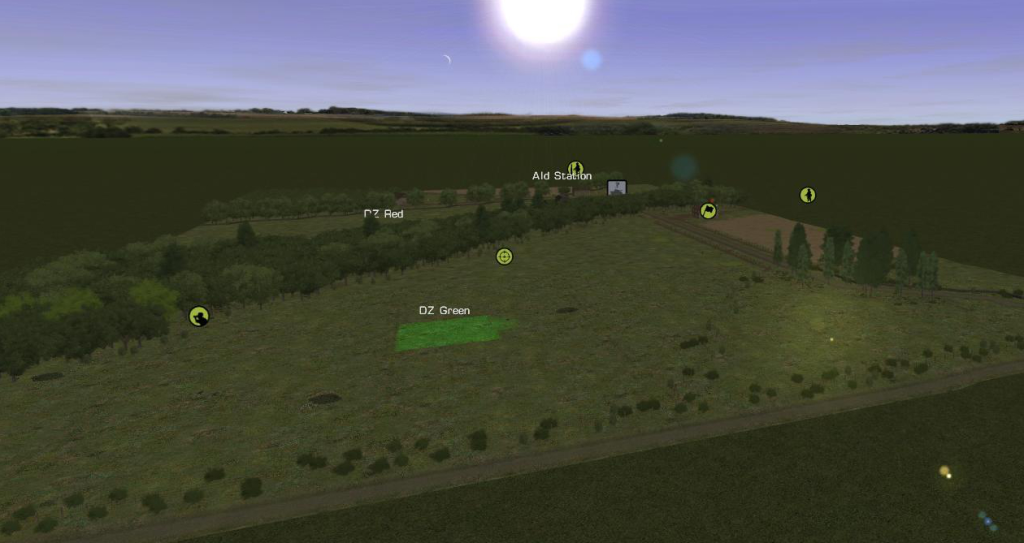
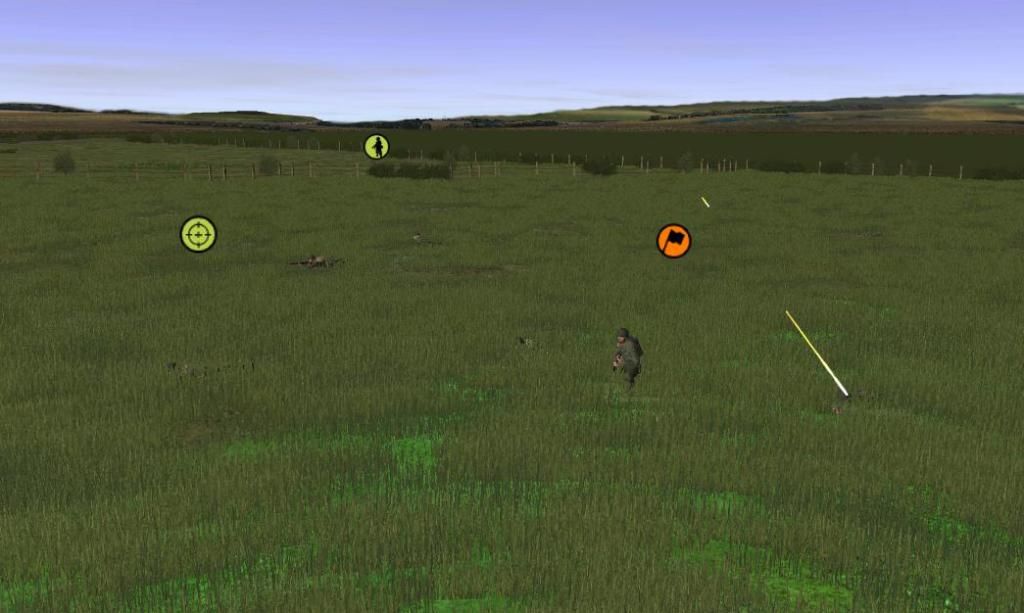
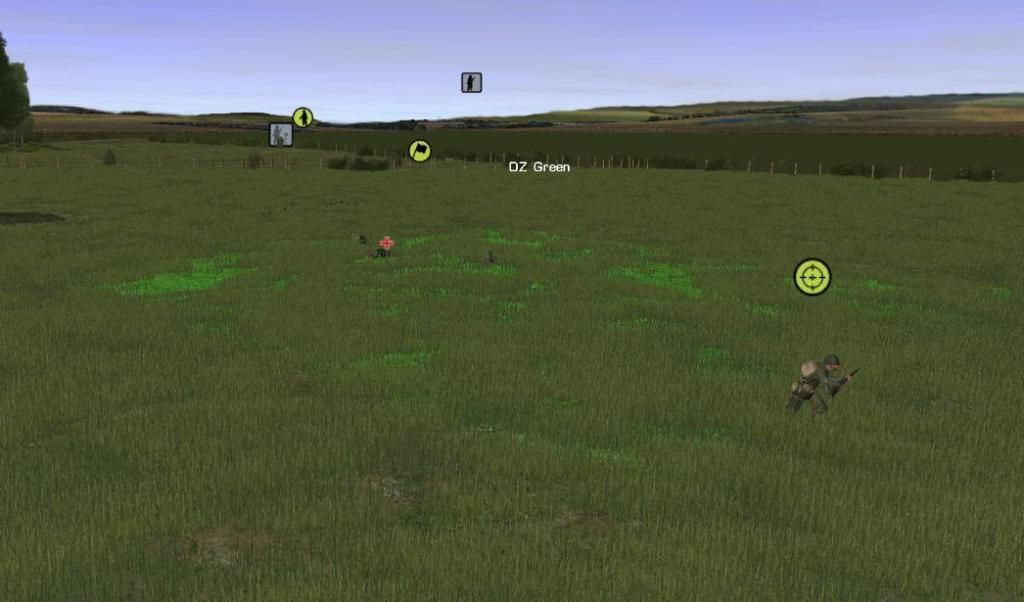
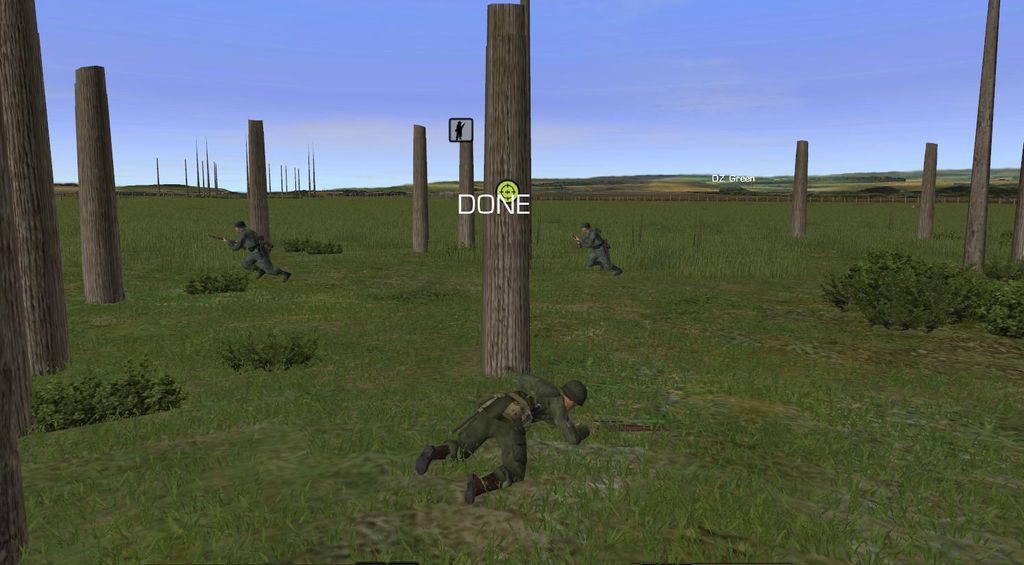
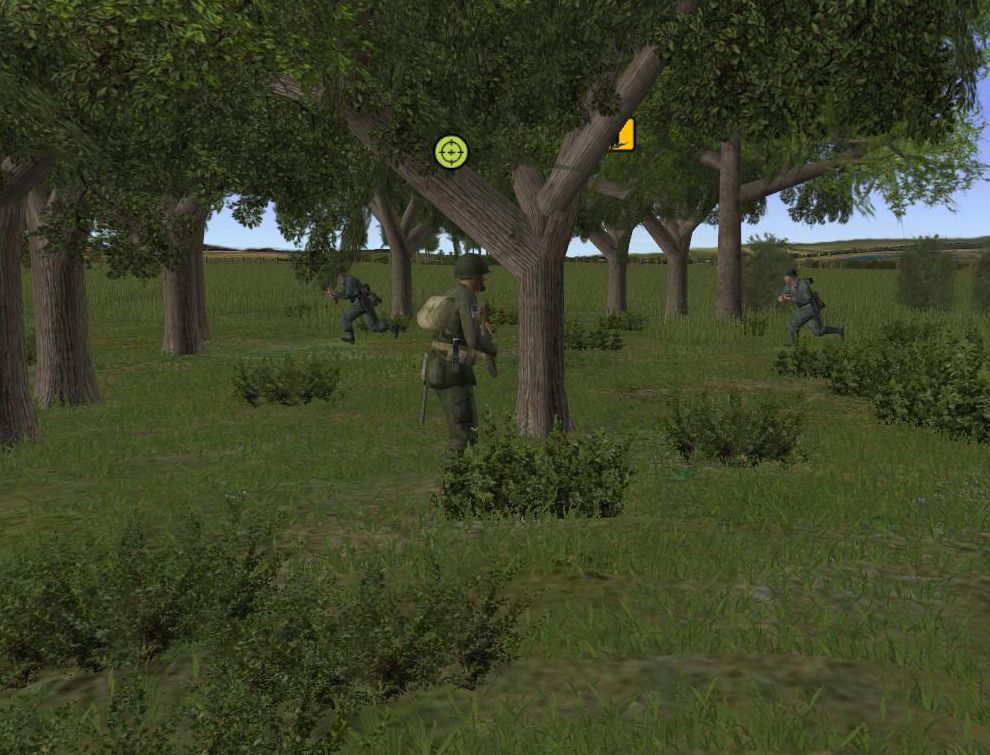
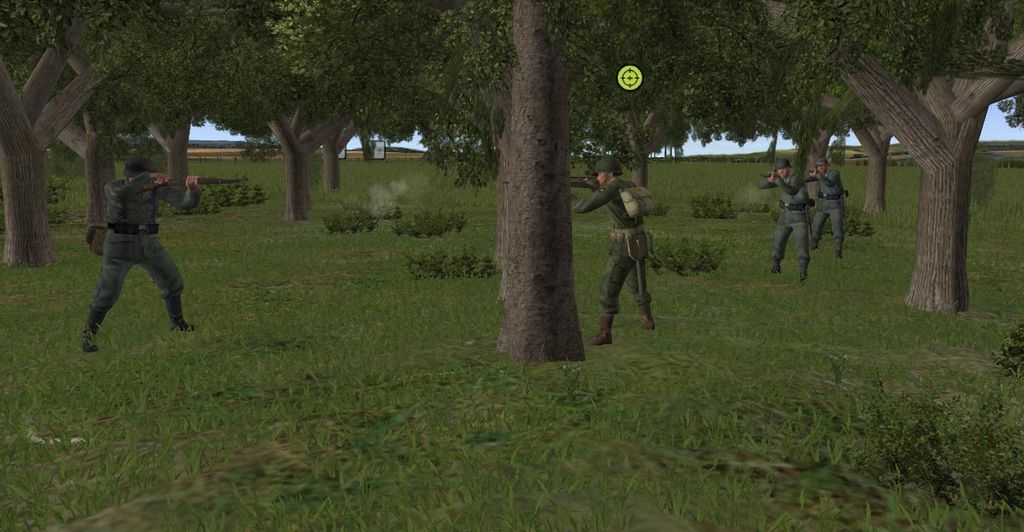
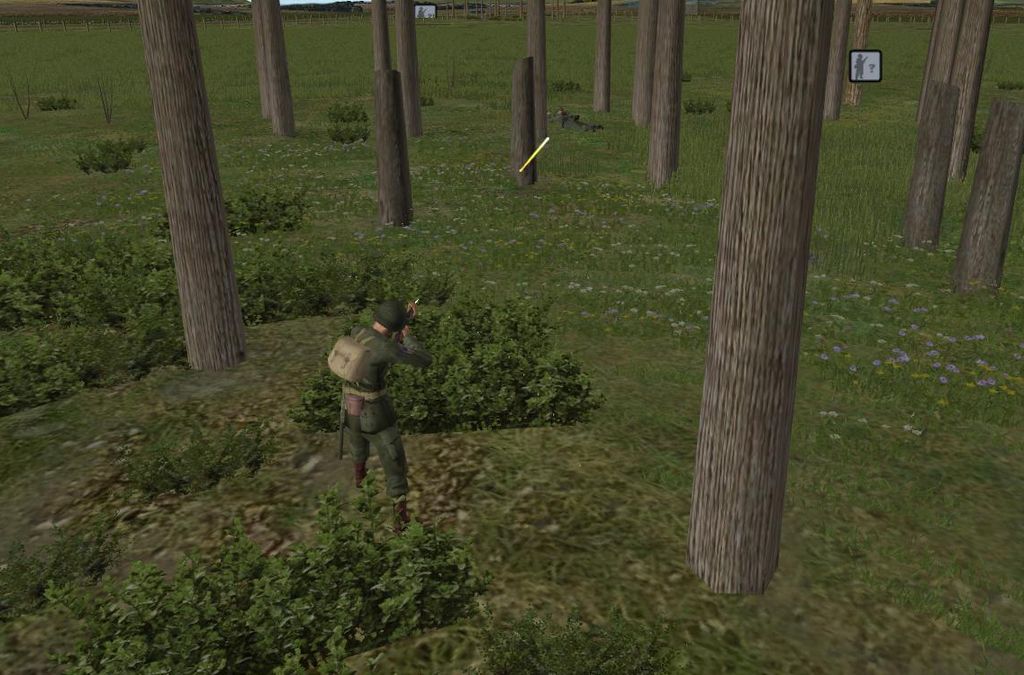
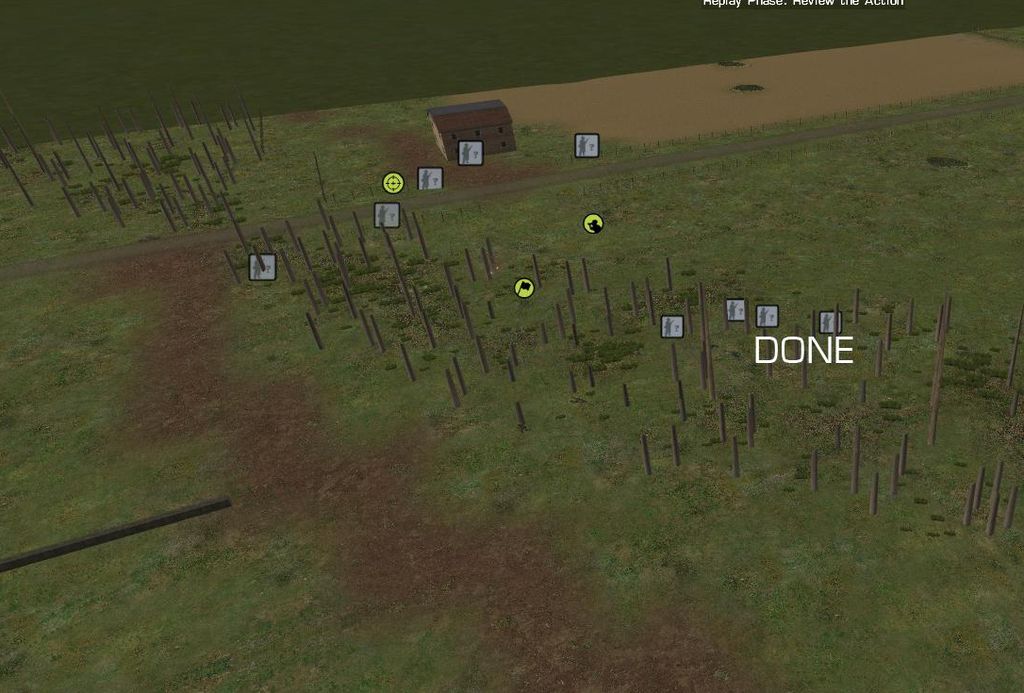
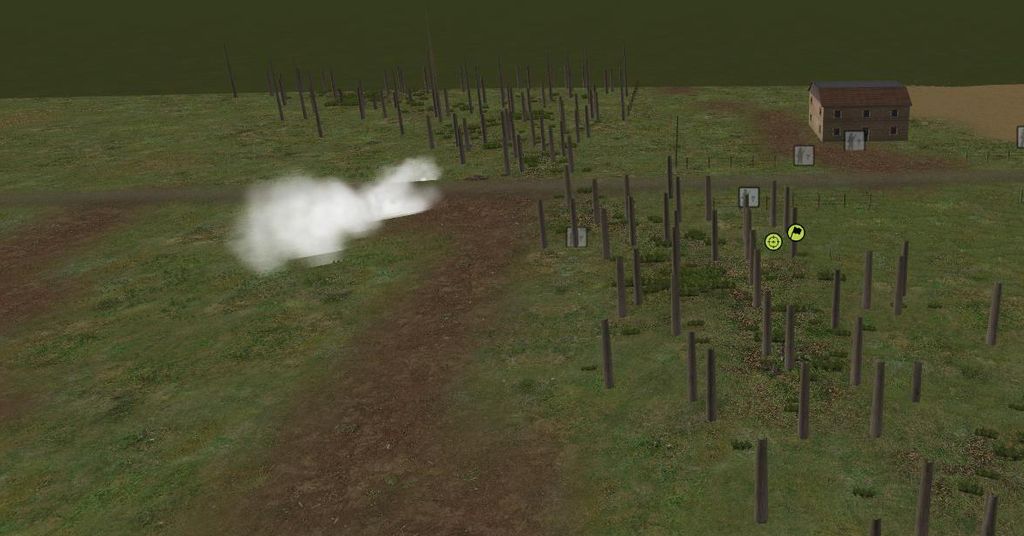
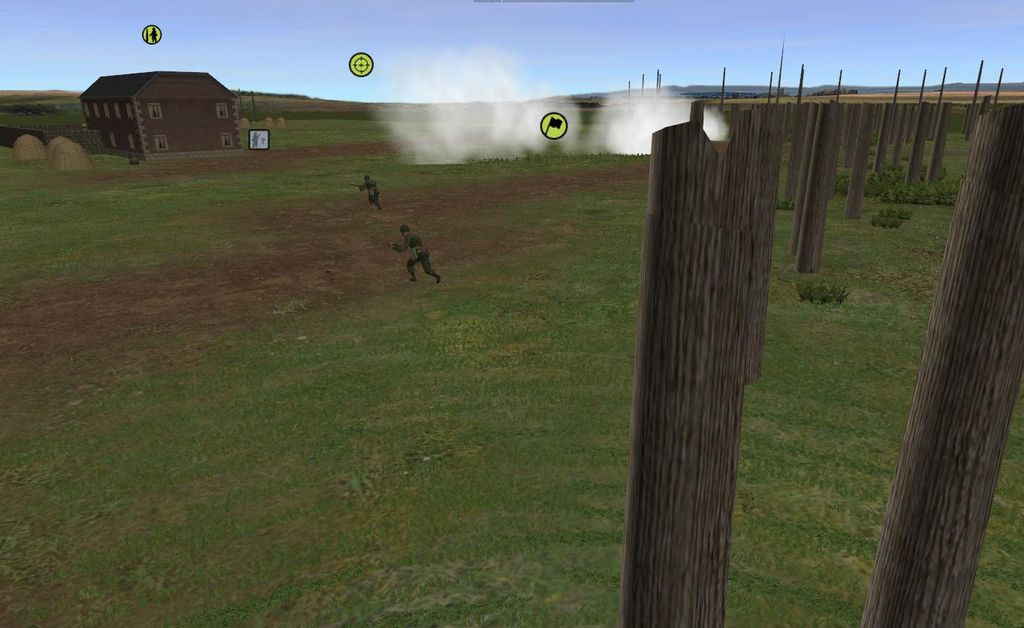
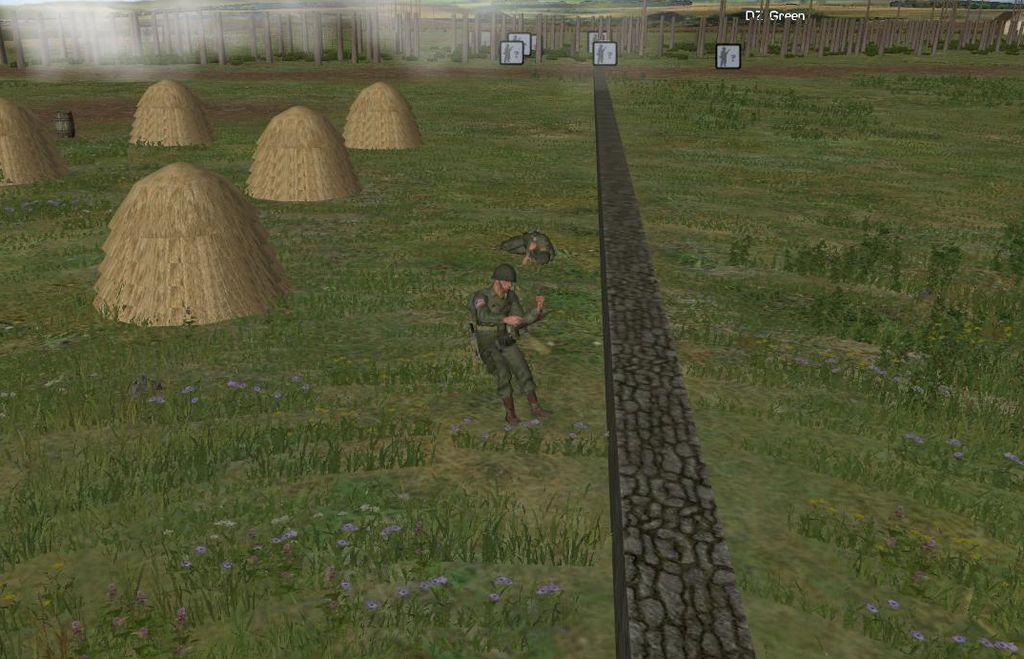
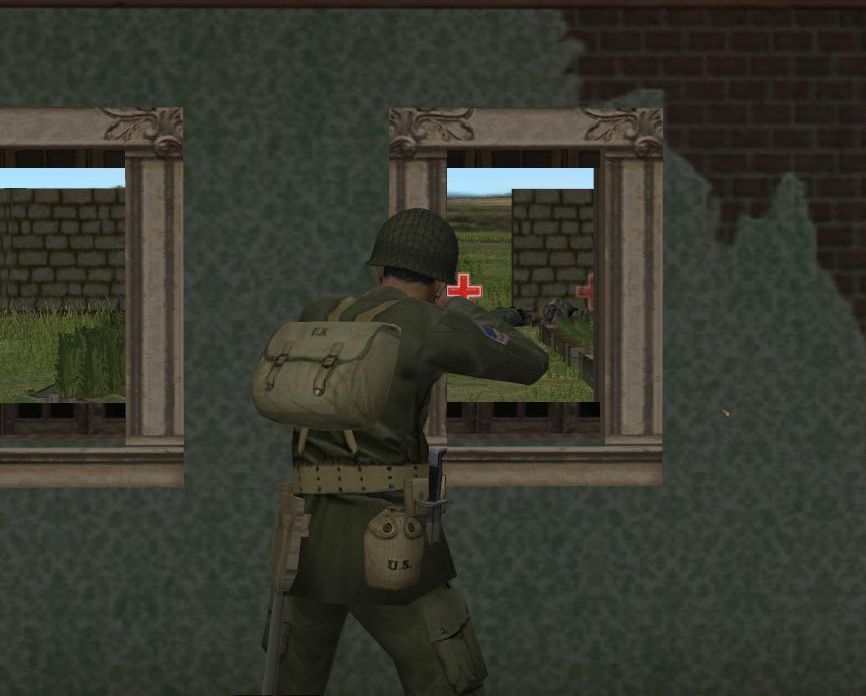
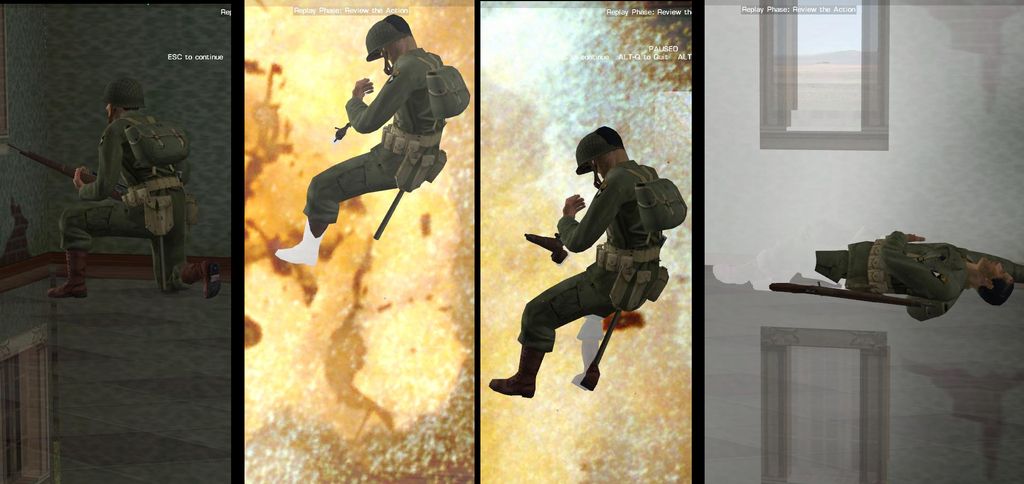
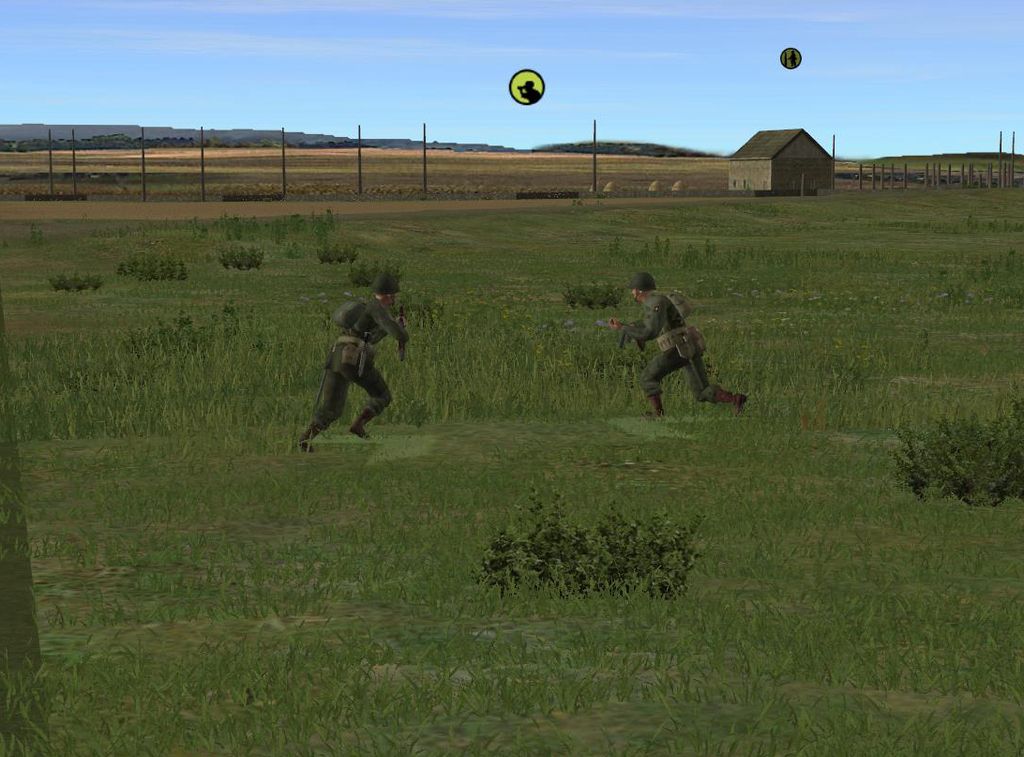
Of the other two battles, one was commanded by IanL, in which he had to capture the bridge before the German's blew it. This AAR can be read here: TRtE Mini Battle 2 – take the bridge
The situation:
Gentlemen of XXX Corps.
Nathangun address's his troops before going into action.
Today we will advance to rescue our brothers in arms in Arnhem. It will be a hard battle but I'm told jerry has thrown in the towel.
We will be fighting young boys and old men, so we'll hit jerry for six and be home in time for Christmas.
Has it turned out there was much resistance from the 'old men'.
Today our orders are to liberate Valkenswaard.
It is now 0600, 18 September 1944. The weather for today is warm and damp, with a light breeze blowing from the south west. The sky is slightly overcast.
Irish Guards Group will attack and seize Valkenswaard in preparation for tomorrow's XXX Corps assault on Eindhoven.
3 rifle companies of 3/Irish Guards, 3 squadrons of 2/Irish Guards (approx grand total of 15 Shermans due to damaged and KO'd vehicles), 1 troop of Recce-
Irish Guards (3 Stuarts) and the 25 pounders of the 55th Field Artillery Battery (8 guns). The Canadian "Tiffies" of No. 129 and No. 143 Squadron (4 planes each) will form "cab ranks" and signal your ALO when they come on station...also you have the air recon boys from RAF 662 Squadron. As reinforcements, XXX Corps has allocated 1 additional battery of 25 pounders (8 guns) from the 4th Royal Irish Horse Artillery as well as 23rd Canadian Field Co. and the 14th Field Squadron. Consult your PzC arrival schedule for the details. The Division Ordnance Shop is working hard to patch up a few shermans damaged in yesterday's battles and will dispatch them up with fresh crews as soon as available.
Previous scouting forays indicate you are opposed by relatively low quality troops in prepared positions. Each one is a light company in strength with some
Flak guns in support. One battery of Artillery typically support these 2nd rate blokes. One last thing...Air Recce and the Intel chaps have suggested
Jerry may have a small panzer unit in Walre being held in reserve.
Use standard tactical procedures to soften up the enemy with both direct and indirect fire. Conduct coordinated assaults as needed. Maintain lines of
communication and supply.
OCCUPY Valkenswaard: 30 points
OTHER HEXES: CONSULT PzC map for points.
DESTROY Enemy Units: as per the usual SOP
Here are our opening moves.
I started the turn with a aerial reconnaissance we've spotted some enemy troops dug in to the north-east and in the woods to the north of Valkenswaard.
I moved units up the road and managed to get a squadron of Shermans across the river.
Having spotted enemy blocking the way across the bridge, I ordered air strikes plus a artillery bombardment in preparation for an assault across the river.
Units that will participate in the assault are:
1/3 Irish Guards
2/3/2 Irish Guards
1/3/2 Irish Guards
All available air and artillery assets will support the attack.
Here is our OOB.
Photo Recce Spitfire provided this snapshot for the ops boys.
We're still waiting to hear if the bridge was captured intact.
Either way, you must get that road!

In the CM phase of the turn there were 3 battles, 2 mini and one assault commanded by ChappyCanuck which is still in progress, here: Assault on hex (1,7)
Of the other two battles, one was commanded by IanL, in which he had to capture the bridge before the German's blew it. This AAR can be read here: TRtE Mini Battle 2 – take the bridge