Welcome to The Few Good Men

Thanks for visiting our club and having a look around, there is a lot to see. Why not consider becoming a member?

DoubleD's Gallery

AAR update, assault on Utah beach

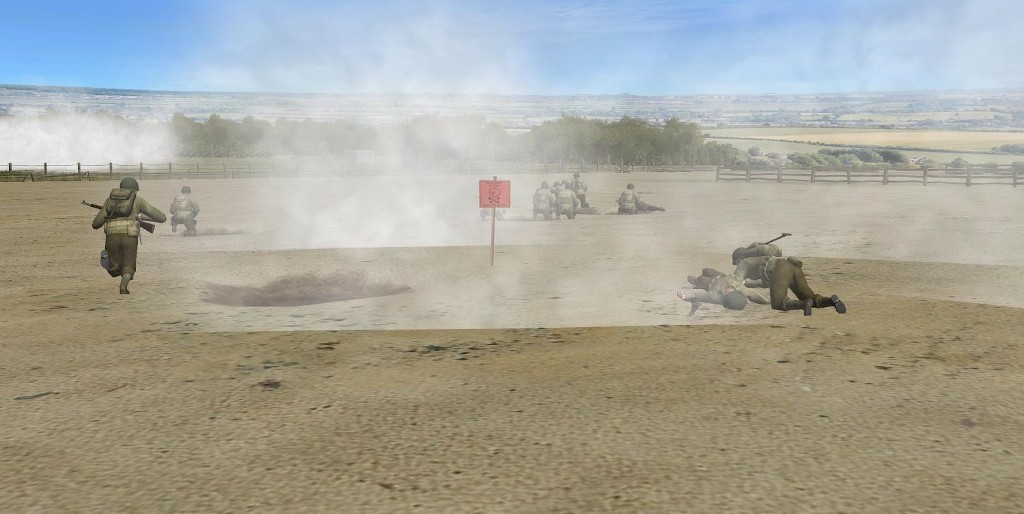
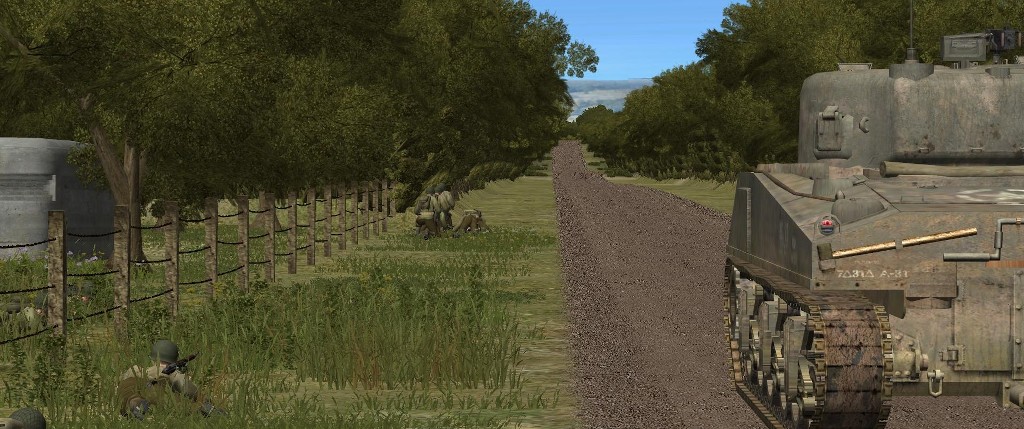
With Combat Engineers breaching the wire, Shermans laying smoke and destroying bunkers, 8th Inf. Btn was starting to secure the beach, but there was a long way to go. I ordered additional Engineer teams forward towards the right flank but the path they took through the smoke walked them right into a mine field. Under fire, men spooked and ran straight into more mines and the squad suffered further causalities.

brZi5H.jpg


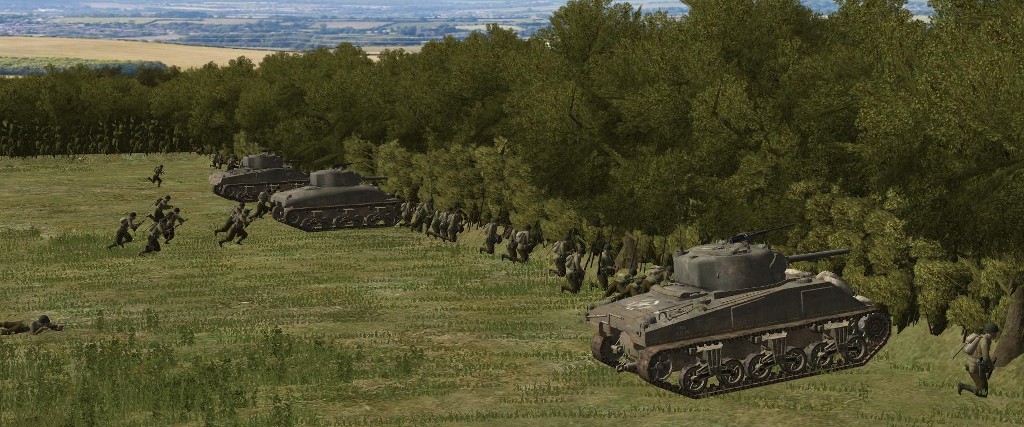
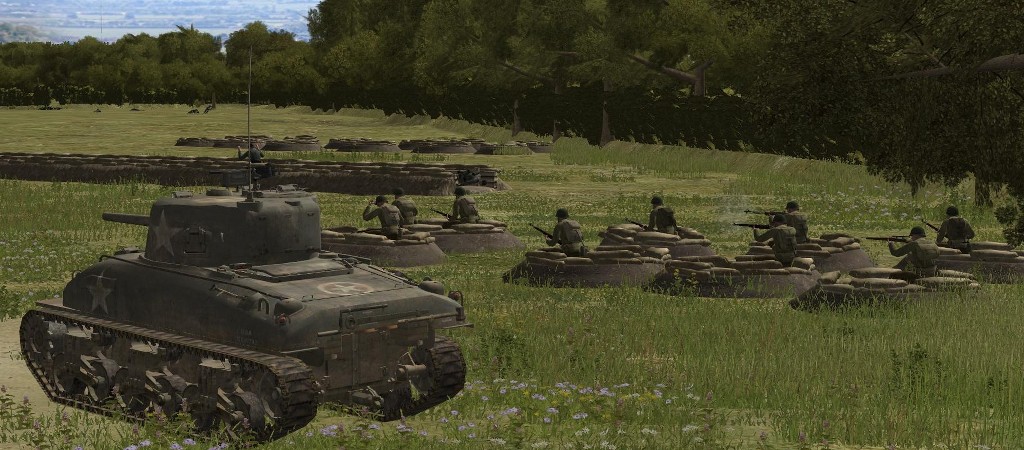
I'd managed to gain fire superiority on my left flank, and despite mortars raining down, I pushed squads forward with Armour support. It was a toughie, I thought I knew where bunkers and defenses could be, my AI plans were similar enough but different in specific places to make me unsure which plan I was fighting. I tried not to second guess or judge my plan in what I thought I knew about the AI might do but what I as the attacker needed to do win. With so much fire, any judgement was arbitrary anyway.
X5mhxW.jpg


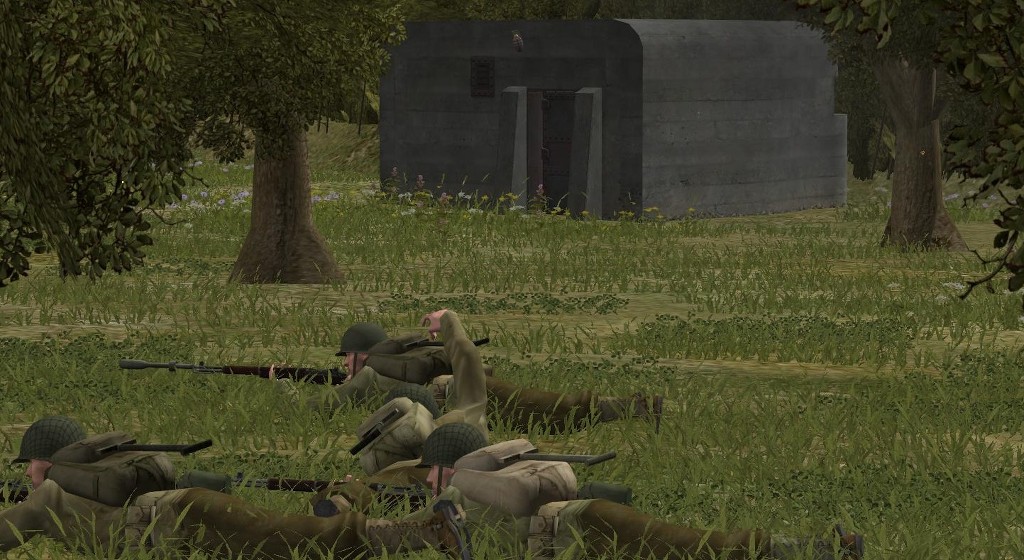
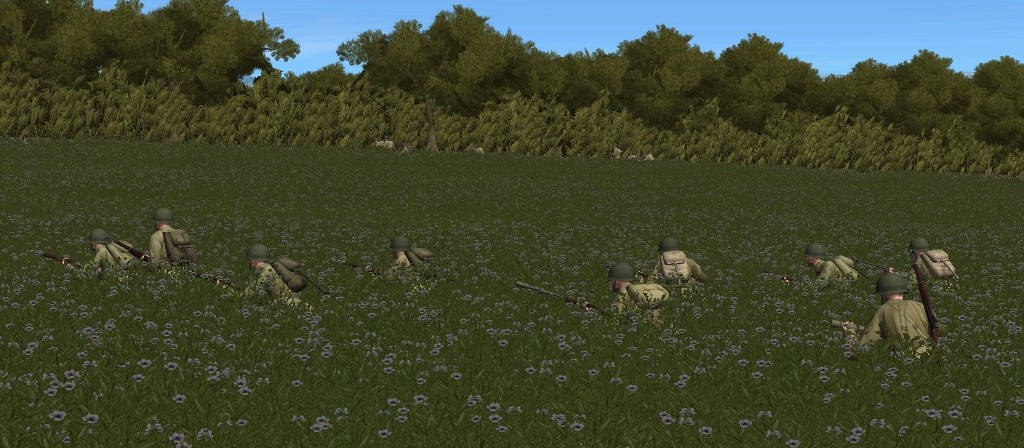
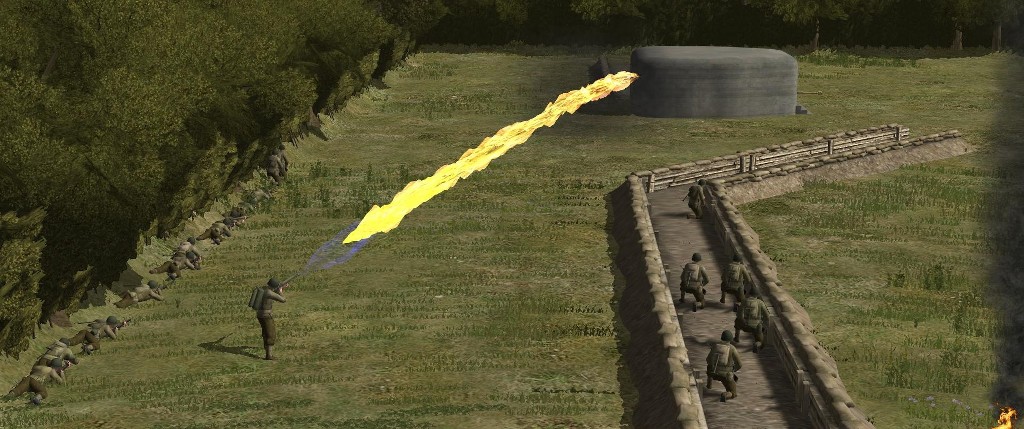
As I got infantry and Engineer team behind the enemy lines the Allied forces engaged with infantry and AT bunkers. the Airborne had already experienced concrete bunkers, but standard infantry didn't carry demo charges or AT weapons to Engineers went in first
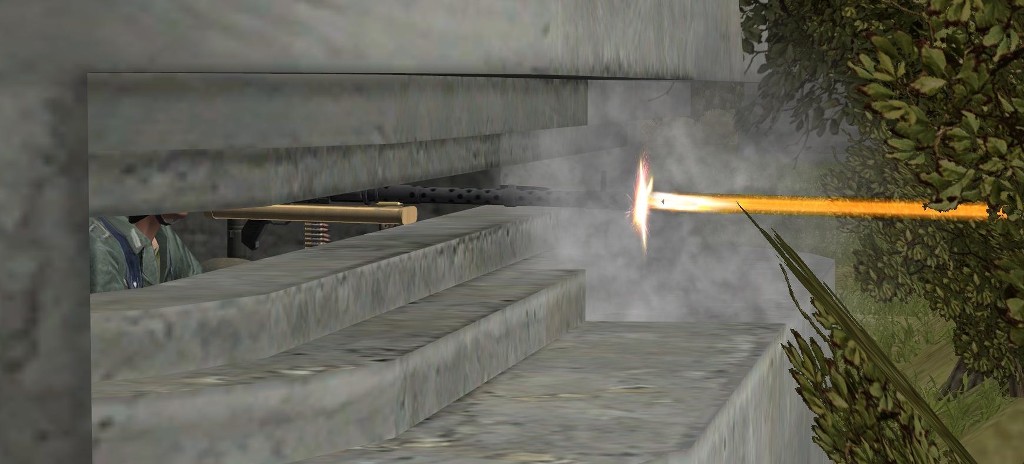
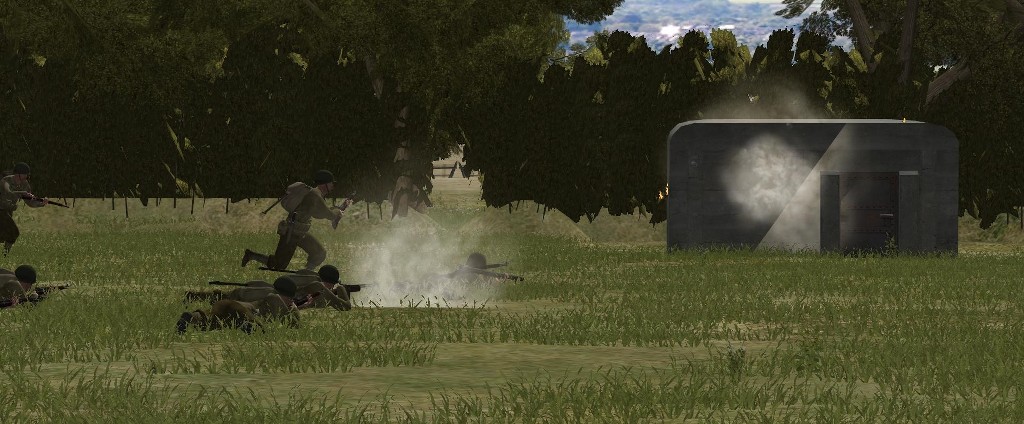
(Engineer flamethrower units assault front line bunkers)
2jygRc.jpg


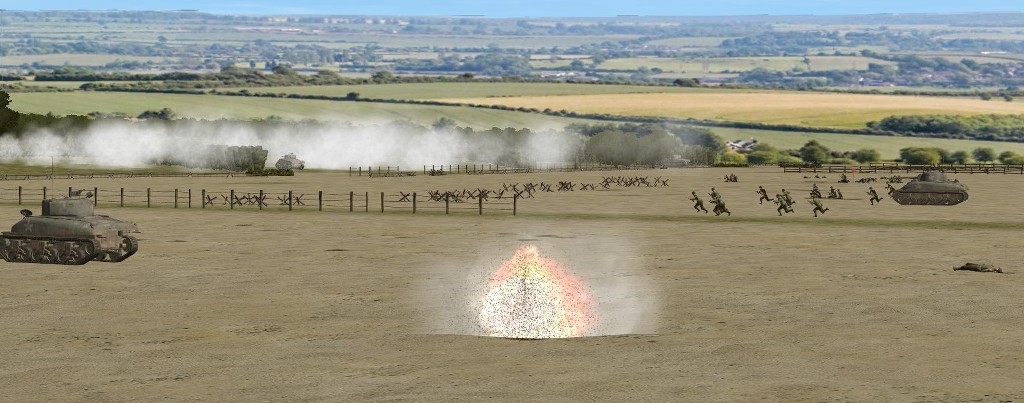
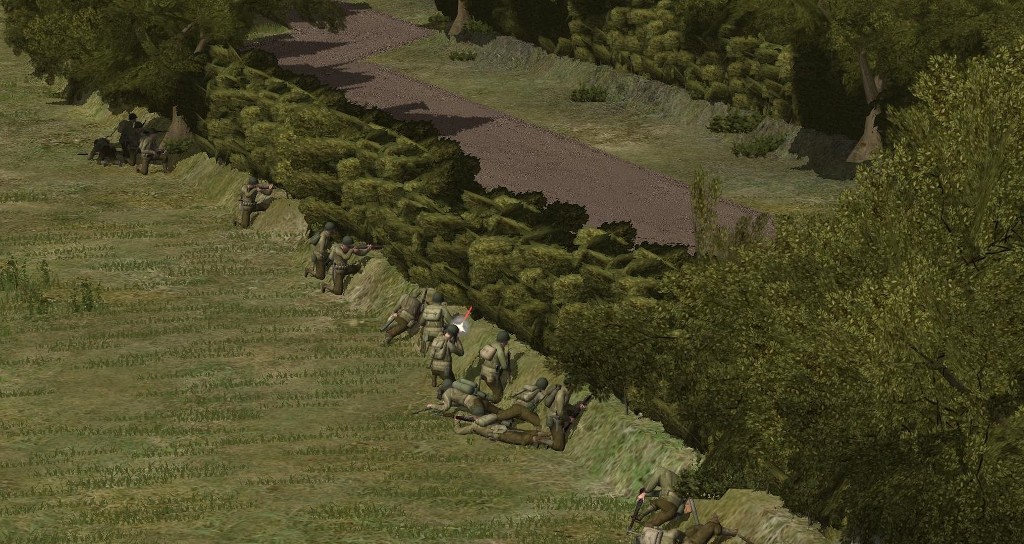
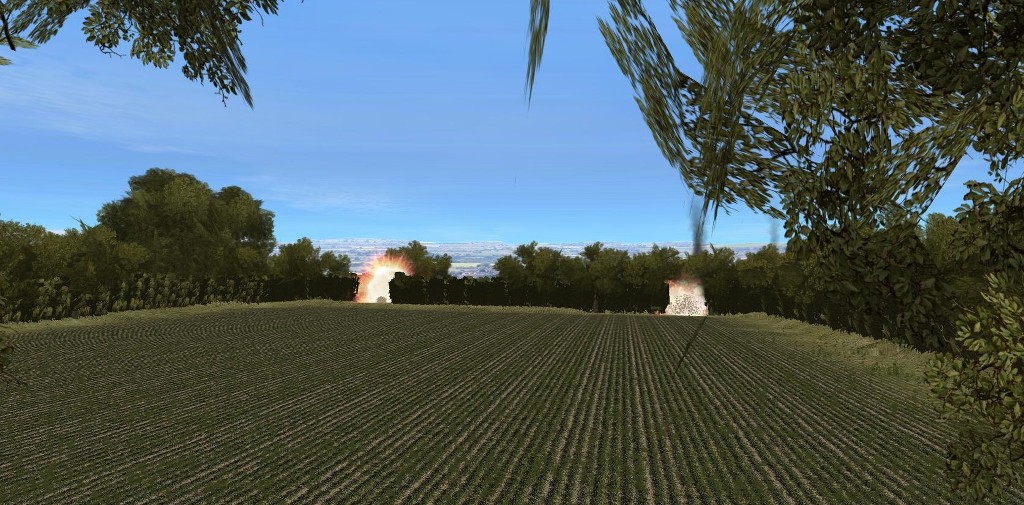
(Grenades and AT, centre picture, rain down on beach bunkers)
QSQbhT.jpg


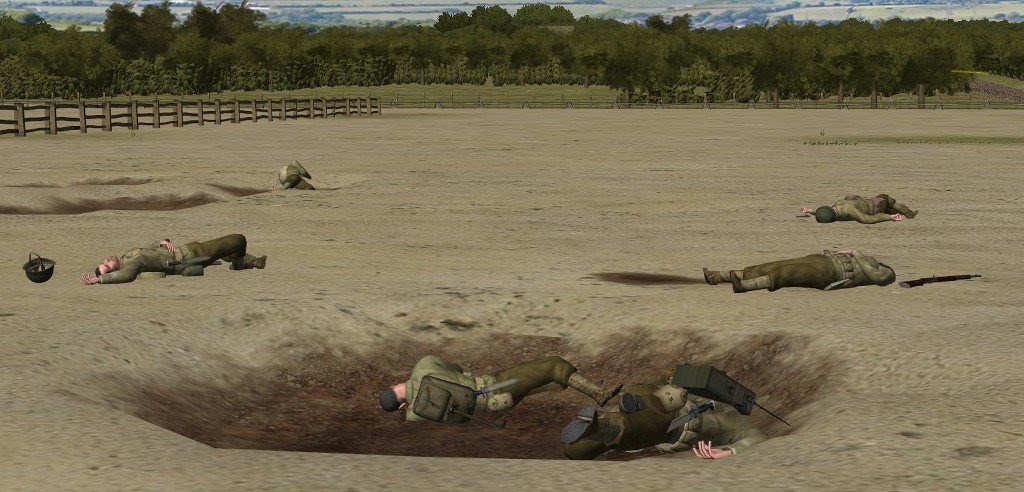
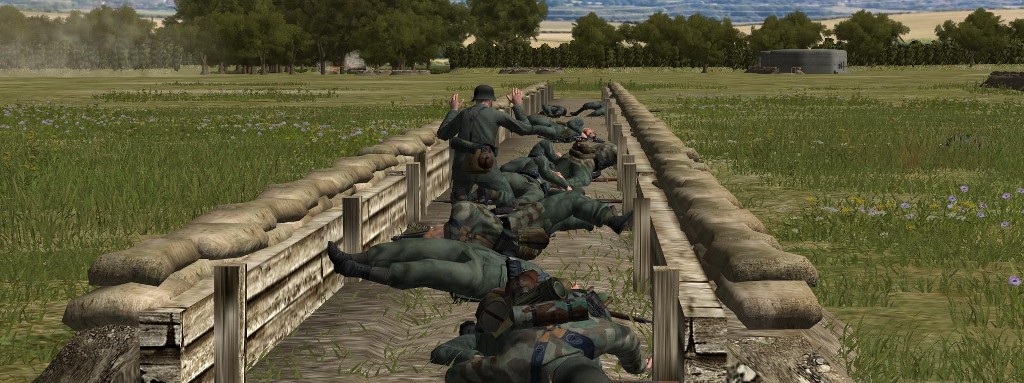
Jerry wasn't done for, isolated concrete bunkers spat death across the beach, MG 34's, 42's, rifle and MP40's refused to surrender, and US 8th Inf. advanced.
NyLj8D.jpg
 
Wow! This looks amazing!

Thanks.

Final update on the Utah beach assault. Despite fierce fighting I managed to push forces off the beach and into the coastal area. My right flank went first, then I got infantry and armour off the sand on my left flank. My force was split, Platoons were in the wrong places and my command structure was FUBAR. Mild spoiler alert, I couldn't just join my forces together due to Jerry emplacements blocking my advance lines. I'd have to fight, not only off the beaches, but further inland to secure the beach-head area.
(Combat Engineers look nervously down the track at tank traps as a Sherman provides over-watch)
iqzEfh.jpg


(Engineers from B and infantry from G Coy clear out more MG Bunkers. The bunkers would take multiple HE hits from the Shermans and still spit out death)
5OvX5b.jpg


As I got more boots off the beach I pushed squads forward. I had to be careful, I had poor command structure and some of the units were nervous and rattled. It wouldn't take much for them to start making their own decisions and start falling back, or worse still, panic. There were still active bunkers and Jerry around the beach, a panicked squad could easily take a wrong route into a kill-zone.
(a squad from B Coy, Engineers, advance forward with a squad from G Coy, Infantry, have already reached the brocage in the background)
zcb8sn.jpg


(casualties on the beach were high, around 60% of the landing force got off the beach. Heaviest losses were armour, out of 15 tanks in the Coy, 6 made it off the sand)
aHfdyN.jpg


(a flame team spray a Pak bunker with fire whilst infantry wait to assault)
ZRKGoS.jpg


Pushing the landing force further inland took time and the clock was fast clicking down. I had to try and keep my troops motivated until I could start to get command cohesion, and continue the advance. The hedgerows and the limited range meant the tanks were hampered and I couldn't use them as much of a force multiplier. Infantry and tanks had to work together in close proximity because I didn't know where the defenders were staged.
(an advance scout group with a lead Sherman come under fire and take casualties. The troopers didn't have time to identify where the fire was coming from before the 4 man unit was WIA)
2Mb7QE.jpg


(two squads blind fire across the 12' wide track into hedgerow in an attempt to flush out ambushing Germans. A few minutes earlier a Sherman took an AT rocket in the side, killing the driver and the loader)
drhXDr.jpg


With the tracks being an ambush nightmare I tried to take a different route. Time was ticking down and I needed to push forward to the edges of the objective zone. I had sufficient firepower to get the job done, and I'd pulled most of my force together so command structure was better, but many of the troops were still on the edge and if I did something stupid I could easily end up with a group of panicked and useless pixeltruppen.
(the main force group together in order to push forward, Shermans provide over-watch, Engineers make a route, Infantry advance)
Rgc2Sw.jpg


(Engineers blast through hedges)

MUKsup.jpg


I'm not going to give too much away. To make it short, I secured the beach-head.... just. I managed to get around 40% of my force off the beach. Every Platoon and squad had suffered casualties, ammo was low and tensions high.
(infantry and armour make the final assault)
qig9mg.jpg


(not many of the defenders got away unscathed, bodies, wreckage and smoldering bunkers marked the battlefield, but... the beach was taken)
4vO5uJ.jpg
 
The following 2 turns didn't result in any further assaults. The German defense was crumbling, and I did a couple of minor allied assault which I didn't think would be worth playing out in CM. 3 Companies of airborne versus a squad of Germans, nah... After the final 6th turn the campaign ended. The final system result was a minor allied loss but the Axis casualties I'd caused in CM weren't included. Once I manually added them to the score, it was a minor Allied victory. I failed to capture the road to Saint Marie du Mont, which was one of the strategic objectives, and the prior CM battles, but for some reason the Allied PzC assaults of 350-450 airborne troops versus 15 German soldiers kept failing, still don't understand how that works and I need to learn how to play PzC.

So the big question for me is, 'PzC as an Operational element to a CM Campaign, did it work?' My answer, yes, most certainly. I will do this again and I'm already looking at which scenario of Normandy 1944 I intend to attempt. With so many PzC titles which tie up with CMBN, CMFI & CMFB the campaign opportunities are pretty big. Is it easy to do?, not really. The PzC part is fiddly, I think I can make it easier if I write myself an instruction book rather than have to remember it each time and do it slightly different, and I have my rules so that's all OK. The CM part is the hardest, not the maps or the units, but getting a decent AI fight. If QB AI was better this would be a great route, but sadly the AI plans I've seen in QB are less than rudimentary. A plan shouldn't have massive detail, but one order to go here and that's it..... nah. So what makes the CM part harder is if you want a decent AI battle, one has to tweak the AI, which really means creating a couple of plans so you don't know what is gonna happen. I'm hoping I'll learn more about the CM AI with some practice, enough to do some simple but fun battles fairly quickly. Only time will tell.

For this campaign, I'm going to put all the scenarios together into one campaign and ask if anyone wants to give it a try. It's not historical, big respect to the guys that create the historically accurate battles, but I'm hoping it'll give someone a bit of fun and there will be an additional benefit for my time spent on this.

Once I've worked out how to put it together, I'll ask for a couple of guinea pigs, ops, volunteers to try it out.

Sooooo, what next? The SWORD landings, hmm, Pegasus Bridge, oh, oh, oh, US Airborne versus Fallschirmjäger.
 
@Shorker, sorry but I can't remember for sure as I installed it in Sep '15. From a distant memory I think it's Oddball's sound mod but it might also have a couple of changes with other mods. as it's morphed
 
Thx for your reply, mate! I think I'll have to go the same way - reactivate the Oddball mod and then mix it here and there with others.
Boomkow also created a great sound mod some time ago. (2015 ?)
 
Another AAR, but slightly different. This is a vs. AI battle and follows the 9th Cameronians into Operation Epsom. It's the first battle in the CMBN Campaign 'The Scottish Corridor'. I Plan to turn all of my battles through this campaign into videos, I hope people enjoy. Don't forget to subscribe to the YouTube Channel.

 
The fourth battle in the Scottish Corridor campaign. it's the 27th of June and we've transferred to command of the 2nd Argyll and Sutherland Highlanders. Our orders are to secure Colleville and Tourville to the south west of Caen. I hope it's of interest and you enjoy.

 
Back
Top