Welcome to The Few Good Men

Thanks for visiting our club and having a look around, there is a lot to see. Why not consider becoming a member?

Allied DAR: Borderland- Bullman STAY OUT :)

Turn 21 -10

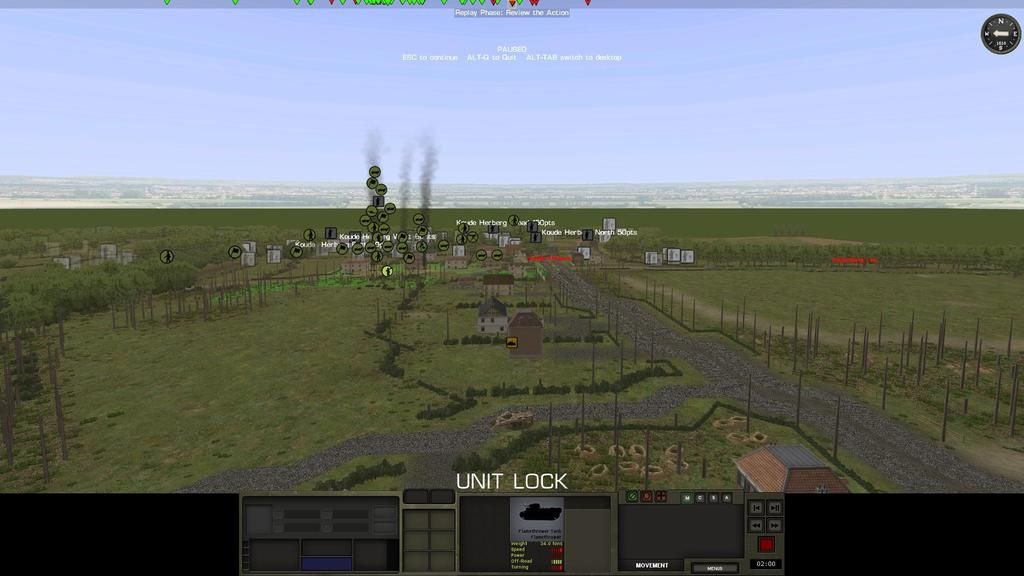
Bullmans' troops having numerical advantage now are pushing onto the main objectives.

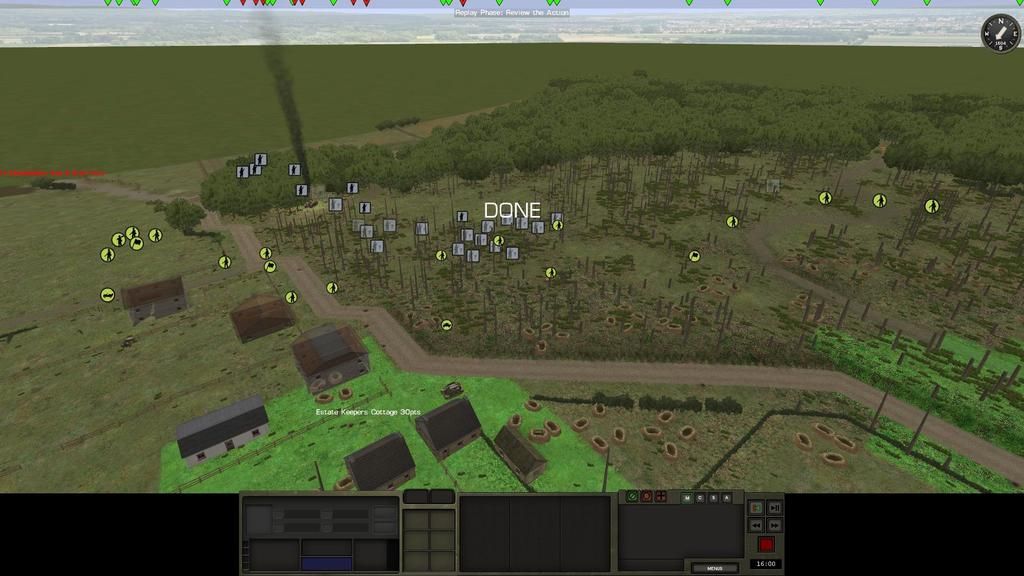
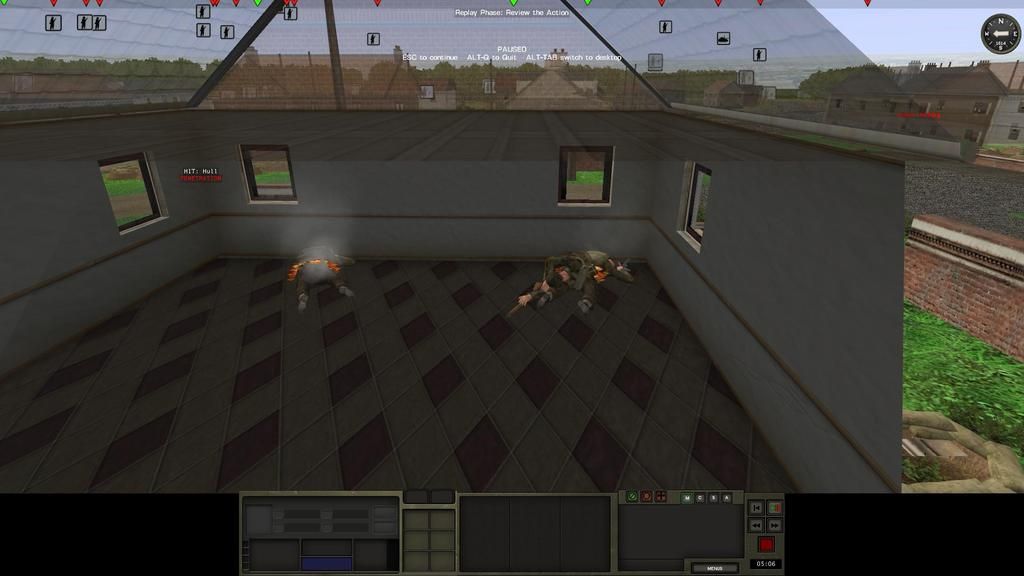
Over at the Estate Keepers Cottage Bullman is launching another attack.

CM%20Normandy%202015-07-31%2013-10-35-25_zpsz7kzq6nj.jpg~original


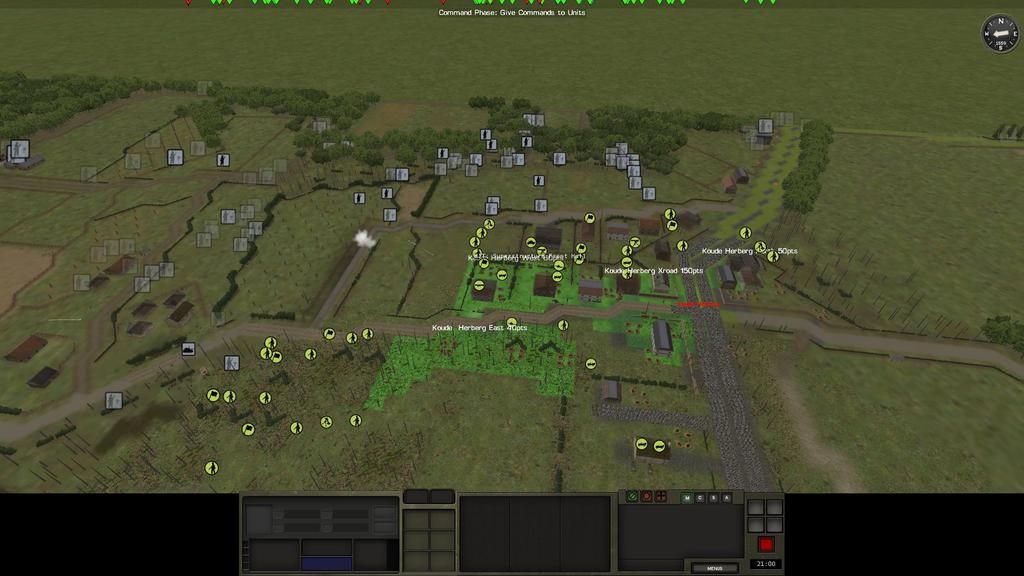
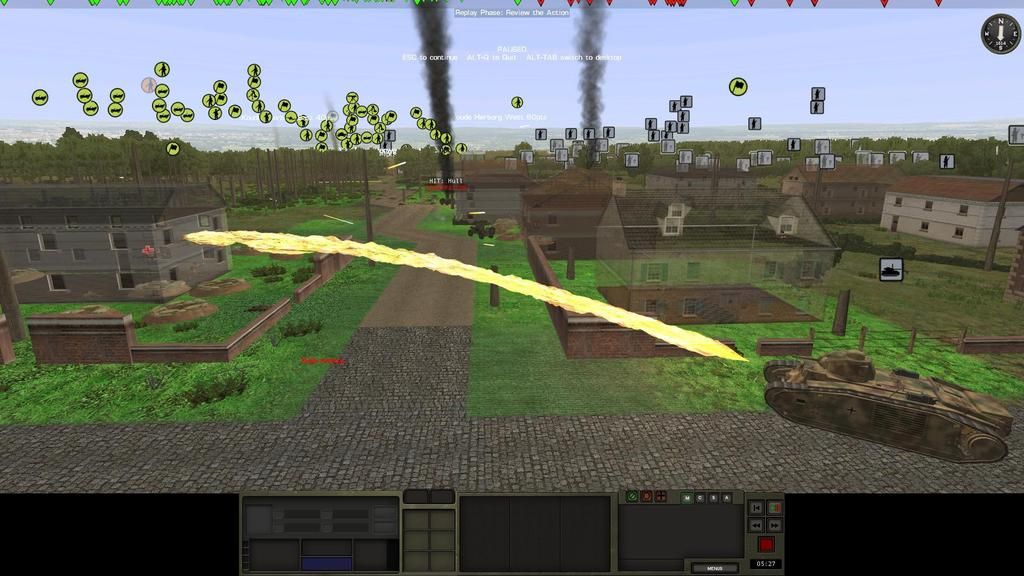
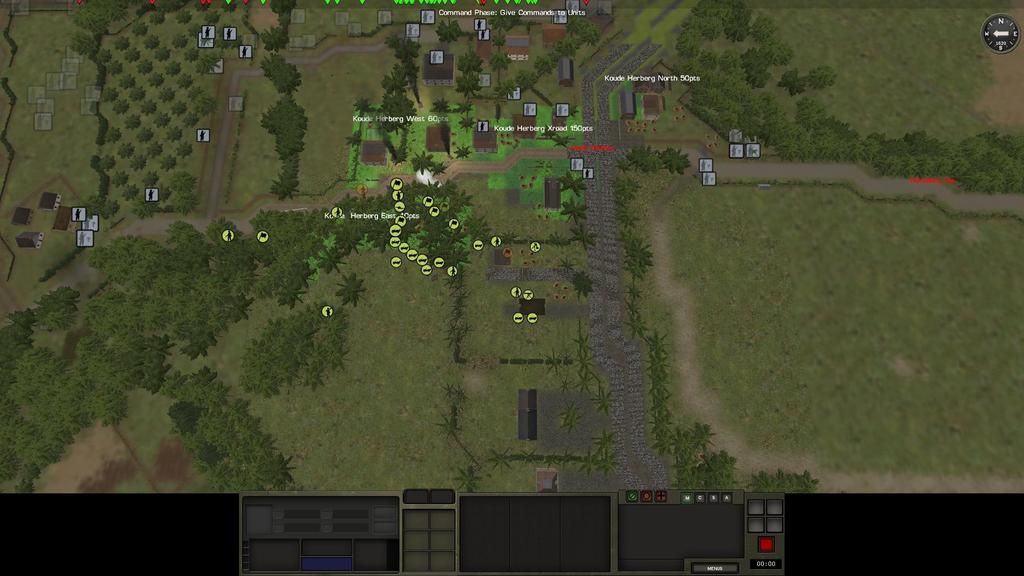
In the center, and most importantly Bullman is gaining ground and inflicting heavy casualties and my Para's are beginning to get rattled, I'm not sure if I can hold the objectives here.
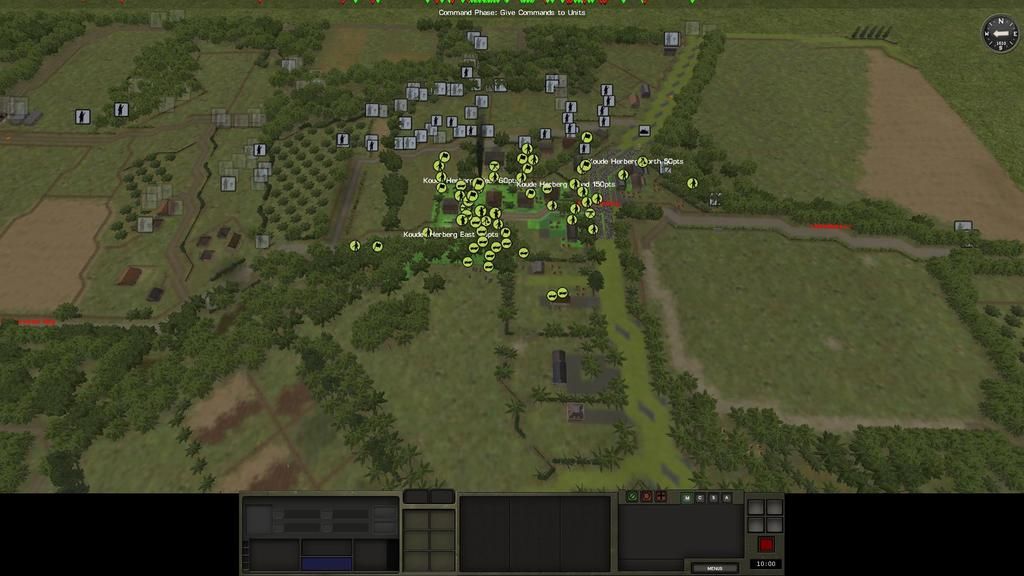
CM%20Normandy%202015-08-11%2014-11-32-48_zps0uatglsy.jpg~original
 
Quite an interesting thing with that guy, I could only issue 'move' (N) orders, I guess the equipment weighed him down.

Yeah there's a weight distribution algorithm for infantry in CM. Burden them with too much and it restricts their movement speed. Doesn't really pop up much at all for WW2 but you'll notice it more in CMBS as soon as you pack a US Infantry Squad to the gills with spare ammo and AT4's.
 
THE END

Bullman's numerical advantage tells as my troops are unable to hold most of the town objectives.
I had to press jeep drivers into the line which was held mostly by HQ units by this stage.
His last remaining tank drives up main street and it's flamthrower does it's nasty work wiping out squads in a instant.

CM%20Normandy%202015-08-18%2012-49-30-45_zpsatqoedkh.jpg~original


Two of the flamethrowers victims, I can't help but think if these guys were lying about something.

CM%20Normandy%202015-08-18%2012-50-21-73_zpsr4nxknox.jpg~original


CM%20Normandy%202015-08-23%2014-51-43-36_zpsevvete4y.jpg~original


More painfully, the battles passes the 00:00 minute mark and goes into ten minutes of overtime.

Bullman takes the opportunity to send his tank to my rear to capture another objective, or at least deny me the points for holding it.

(Rear objective offscreen just below camera)
CM%20Normandy%202015-08-22%2013-58-14-06_zpsmun2hzt4.jpg~original


The battle ends.

CM%20Normandy%202015-08-26%2011-52-35-05_zpssva0so7g.jpg~original


I was hard pressed from every attack. I had few troops to defend everywhere and used the jeeps as taxis to move platoons from one crisis to the next. Wherever the tanks turned up they caused horrific amount of casualties and helped Bullmans' progress in that area until I manage to knock them out. On seen the end screen, I was amazed of the amount of troops Bullman had, considering the casualties on both sides were about even, Bullman still had an overwhelming number of troops.

An enjoyable battle, and a draw seems a fair result.
 
Hi Nathan,

Let me first say how awesome it was to finally read this DAR now that our battle is over. As I was reading it, it almost felt like you must have been reading my mind. You did a fantastic job of both defending and writing a narrative as you went along.

What a great battle and well played.

I was surprised that many of the details you gave corroborated with my own observations. For example, in the south, your hero PIAT team who broke cover within the buildings to dash across the road in to the woods and take out my tank. I saw the cheeky bastard cross the road when it happened and did my best to suppress/stop him but somehow he managed to shake off the suppressing fire kill the tank. Give that man a medal! A HUGE blow to my chances of taking the Estate Keepers Cottage objective.

You also mentioned about "nothing happening" for a while. At that point there I was kind of lost for ideas as every attack had failed and had lost more thanks than I thought I would. I basically ceased all attacks on the flanks because it just felt like I was sacrificing troops for nothing and focused all energies on the attack at the main Koude Herberg objective. I really was surprised at the casualties that I apparently was inflicting during those failed flank attacks at Sonnenberg and Estate Keepers Cottage however.

I actually did not realise that you were so active as you were in using your jeeps to relocate troops around the map.

The ratio of units was mentioned (3:1 or more being suggested) but in fact the infantry ratio at the outset was about 1.7:1 in the Germans favour plus the 4 flame tanks of course. In the woods the German infantry get decimated by the large number of SMGs and Brens fielded by the Brit paras.

Having played other MG scenarios as Brits, one thing that I had to contend with in every other fight was ammunition! I had literally played scenarios where I ended up with units completely out of ammo. All that automatic gunfire does come at a cost. I would think this was not as much an issue in this scenario because of the huge number of jeeps that carry loads of ammo reserves.

A deeper analysis of the casualties show the Germans suffered about 54% dead/wounded and the Brits 69%. The ratio of available infantry at the end was 2.5:1 in favour of the Germans. I definitely did underestimate the casualties you took though I think my force superiority ended up mainly at the main Koude Herberg area and did not have the units needed to take Sonnenberg and Estate Keepers Cottage. Those locations were relatively the most costly for me because of the short range engagements.
 
Last edited:
I just want to say that I have huge respect for the CM scenario makers that recreate historical battlefields. This was the third historically based Oosterbeek scenario I have played and just like the other's the map making is as accurate to the actual locations as I could expect. I have had so much fun and had so many "wow!" moments comparing CM maps with their equivalent Google Map Street View that I feel that it really is probably worthwhile trying to share some of them with you. This is also a huge thank you and tip of the hat to all the scenario makers who put in hours of work to create these amazingly researched and accurate scenario battlefields over all the years I've played CM.

It really is a shame that the FGM ladder game reporting system does not even record the scenario name and hence gives no chance to give feeback to and give credit to the scenario maker, let alone let them know people are even playing their scenario. It is this kind of feedback/acknowledgement that I think we owe scenario designers if we are to encourage and expect them to continue to create some of these amazing scenarios. I hope one day FGM see the wisdom of addressing this issue.

Overall map comparison:
73mbe8.jpg


1)
34q8q4w.jpg


2)
2vsp0t4.jpg


3)
v6rlh0.jpg


4)
fjf89c.jpg


5)
n4xq0y.jpg


6)
5khqid.jpg


7)
14cbt6g.jpg
 
Last edited:
This is fantastic - I have just replied to Nathangun about your battle - I love this scenario - especially with the correct German tanks - and these real images add an extra level of flavour to the tactical locations we have all become familiar with by playing this scenario - brilliant mate well done!
 
Back
Top