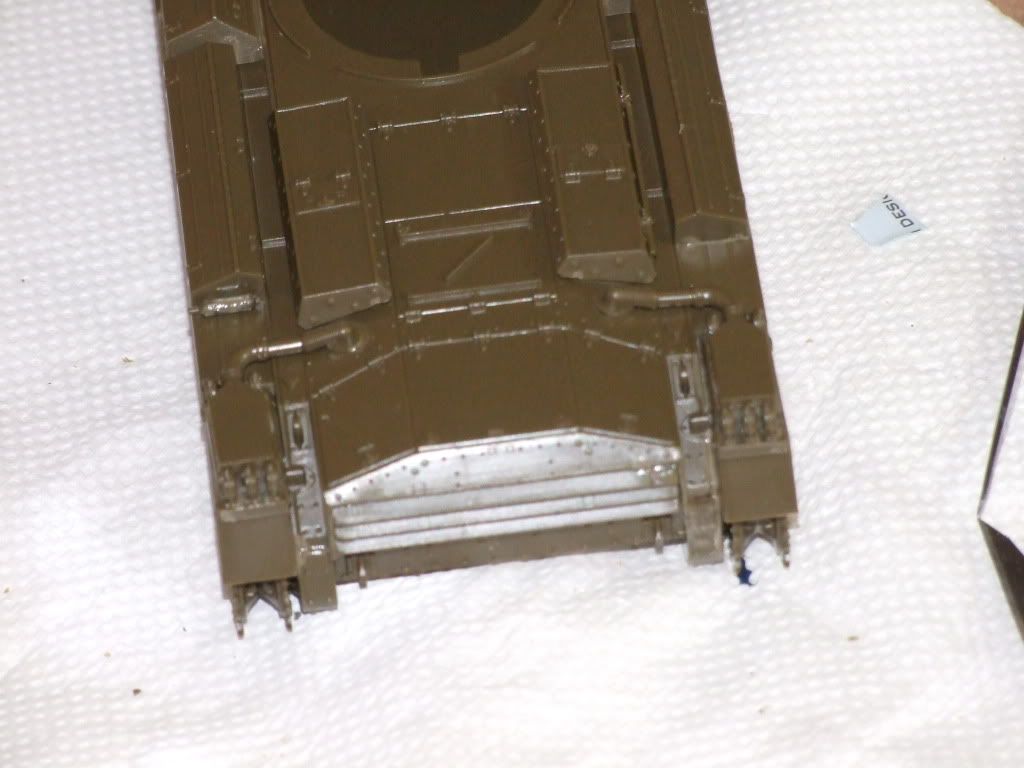
Progress on the Crusader Mk III AA.....first up a shot of the ass-end, with the muffler system in place. Have since added a bunch of grab handles, tools and hooks for the towing cable (which I might leave till last)
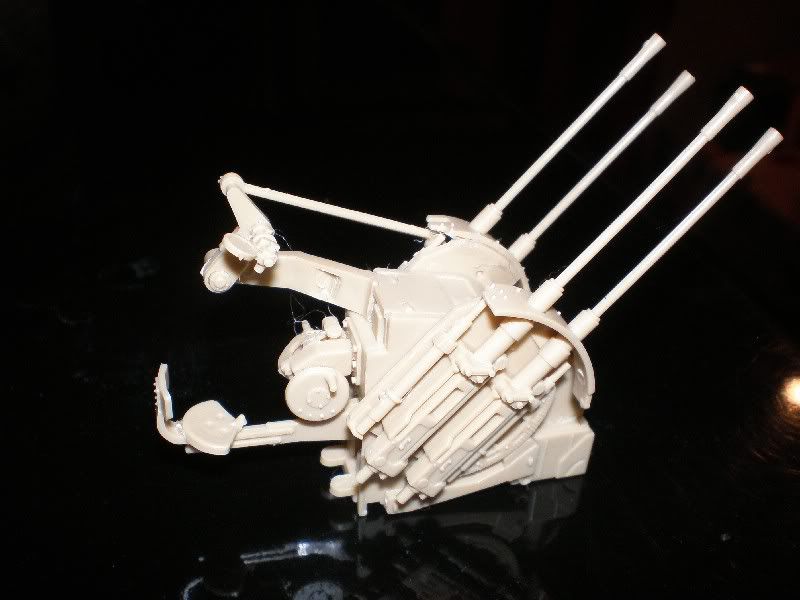
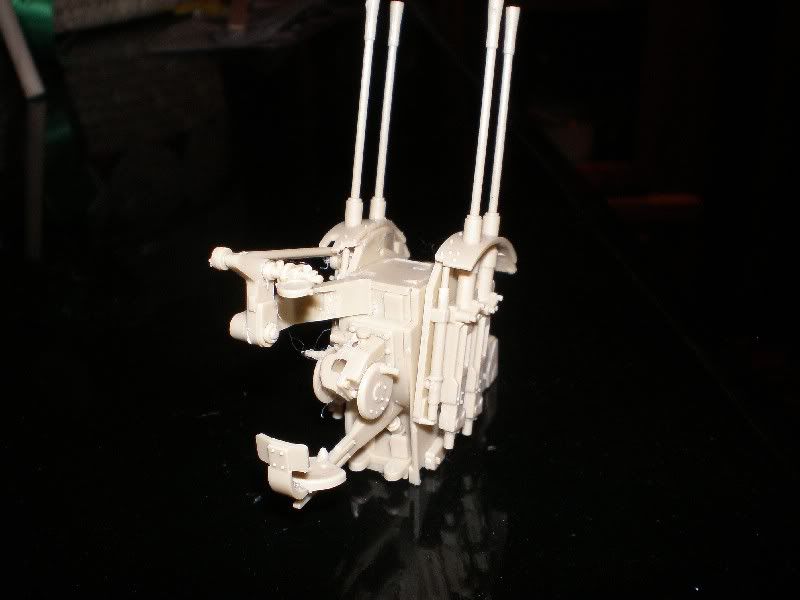
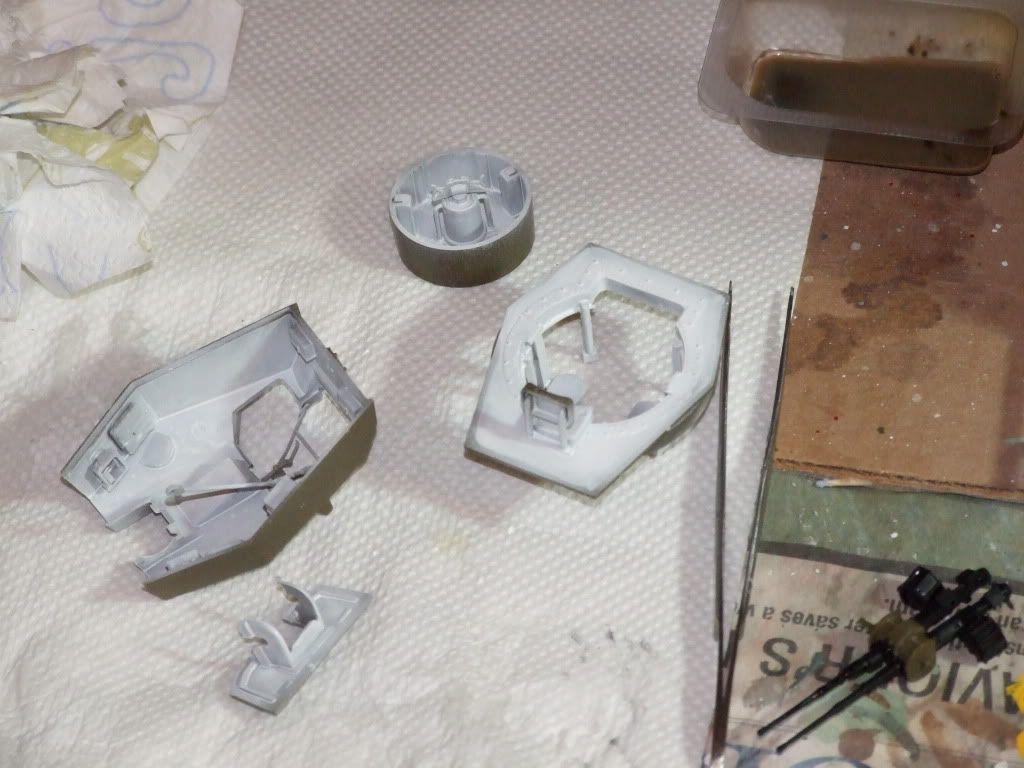
Next we have the turret....and after doing a bit of construction of the interior bin and the guns it was time to do the interior painting. Tried gloss white as per instructions, applied via paintbrush, but my gloss is old and didn't cover well. So I switched to flat white....and I can't imagine anything would have stayed gloss long.....and sprayed it. Guns got a flat black.
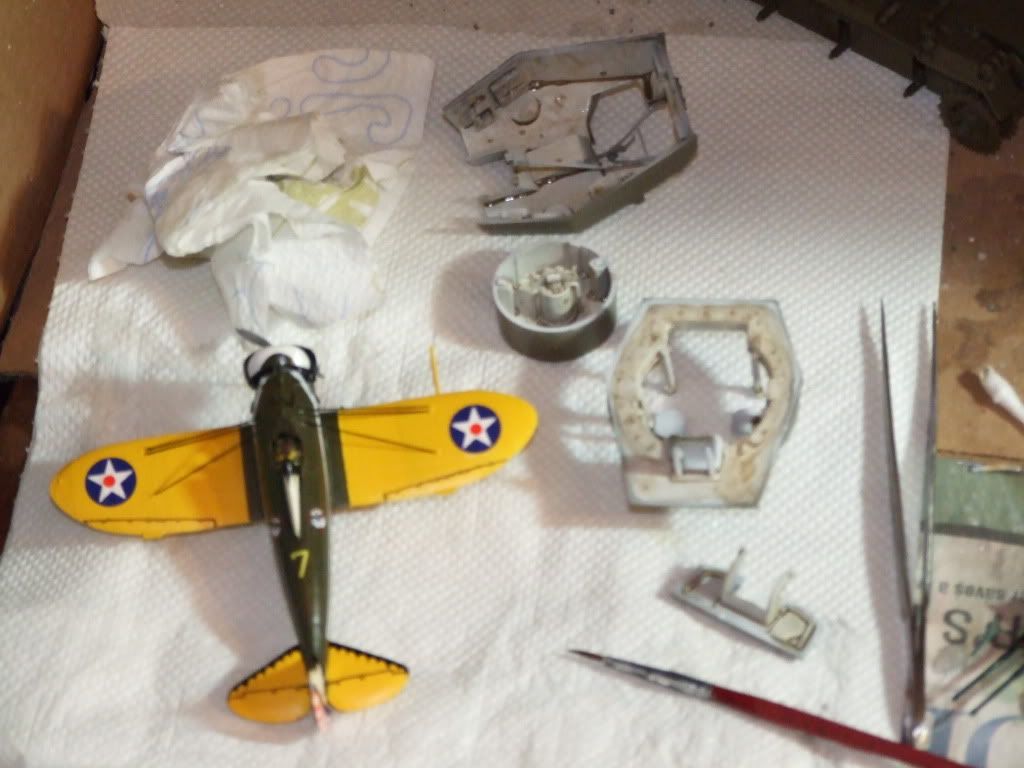
Next came a wash of raw umber. The photo flash makes it look like it puddled a bit in the top of the turret, but it didn't...was quite a nice effect. It's just still wet in the crevices when the photo was taken.
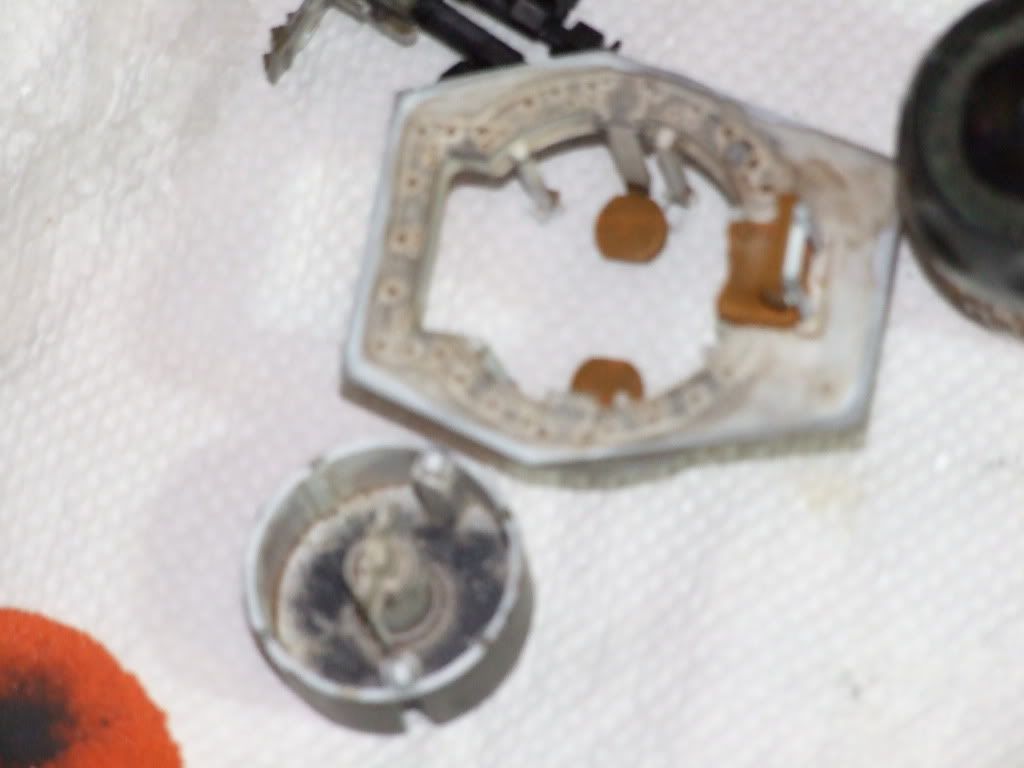
Unfortunately the next one is a bit blurred. Firstly I brushed in grime and wear and tear on the bottom of the turret using a spiky painbrush with a small amount of dark grey, stabbing it gradually into the plastic, avoiding the edges where the paint would have stayed intact (the crevices all had the raw umber wash in them to indicate dirt & grime). I then gave a light drybrush of gun-metal to the raised mesh pattern on half the bottom...you can't really see this in the photo.
Next was a technique I hadn't tried before.
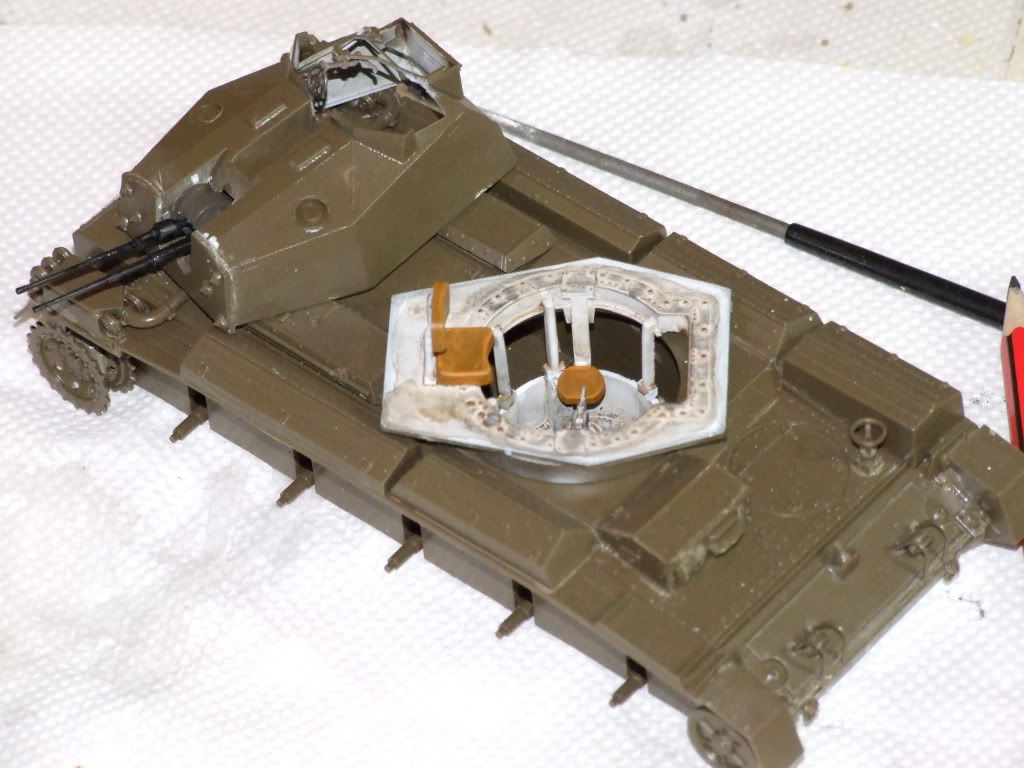
I took an ordinary pencil and a bit of sandpaper and rubbed the pencil on the sandpaper to build up a bit of a pile. Getting some on my fingertip, I started to rub down the interior of the model, paying particular attention to the turret ring and to grab handles in the upper turret. Following this the 20mm Oerlikons got the graphite treatment and came up really well....it's a lot more restrained than gun metal or silver/aluminium drybrushing and it is in keeping with what I imagine would be the case for a relatively new vehicle type seeing its first campaign.
Seats got painted a leather colour, and highlighted with the same paint lightened with some white. Test fitting the turret bin to the hull came next, and the guns got fitted into the turret. This involved a lot of fiddling about as there is a rod that runs from the gun mantlet all the way to the sights on top of the turret, and is supposed to keep the sights frame aligned with the guns as they elevate.
I've since joined the pieces of the turret together and added lifting hooks, searchlight and vents to complete it.
Time to do some painting now...think I've done all I can do without getting the base colour on. Still to do is:
tracks
road wheels
towing cables x 2
