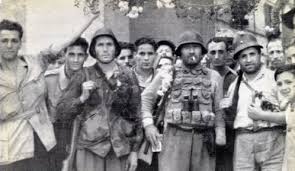
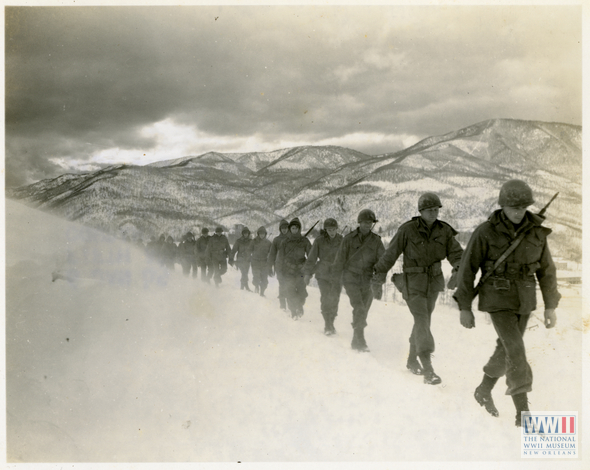
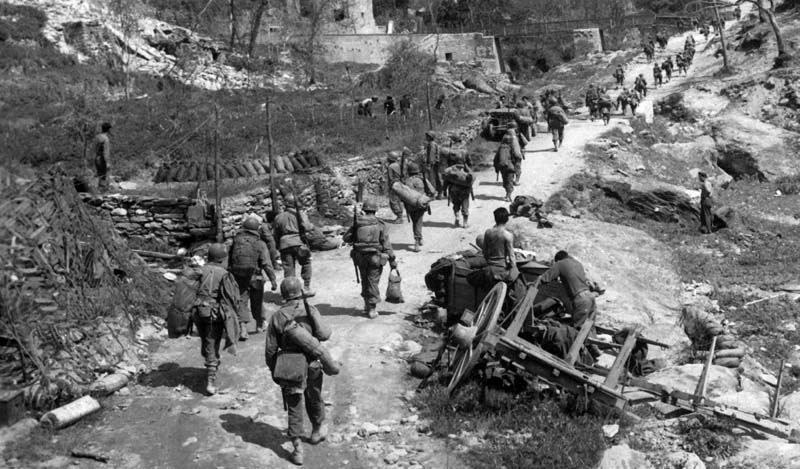
A Battalion of the Royal Canadian Regiment is moving north from the beach heads in Sicily during Operation Husky. Shortly after noon on July 12, B Coy spots something smoking over the next rise. Upon inspection by the Company Commander, they discover a burning vehicle from the Seaforth Highlanders and a body to go with it, right at a “T”-junction out front of a house just ahead. As he is inspecting the scene from a nearby hilltop, a round from a machine gun goes whizzing by the Commander’s ear. It’s now obvious the Canadians are in for their first firefight of the war.
PLAY CANADIANS VS ITALIAN AI OR H2H / SMALL; DURATION 35 MIN; WX – HOT, VERY DRY, LT SOUTH WDS

I meant to insert here that this scenario is playable as Canadians vs Italian AI OR H2H. Enjoy 🙂 .
I keep getting error messages attempting to unzip it.
Hi Tom,
I’m sorry about that. I’ve had one other person that’s had a similar problem. I think I found the issue though, and I’ve re-compressed it with a slightly different filename. I think that should work now. Give it a try and if it doesn’t, please get back to me here and I’ll work on it a bit more. Sorry for your troubles.
It worked now – thanks
Tom
Excellent – thanks for letting me know 🙂 .
Spoilers! Do not read until you have played the scenario…………………………………………….
*
*
After reviewing the map I understood why it was recommended to use smoke. Practically from the start you are in LOS of the Italians. My first attempt at the start was to fire smoke and move on the first turn. That didn’t work. You have to pause for a couple of minutes for the smoke to spread and then move. I was going to send one platoon up the left, one up the center and one off to the right but felt swinging to the right would leave the platoon on to much of an open ground. How I attacked was to lay smoke using the off board mortars for the center position and the on-board to smoke the area around Farmhouse 2. I then moved one platoon on the left flank to the rise just to the left of the road forward of the rock walls, and moved two platoons up to and behind the rock wall. Once the smoke started to clear and the lines of sight started to open up the fire fight became heavier and heavier. The better equipped and higher quality of the Canadians broke down the resistance over several minutes until most of the Italian units were KIA’s or routed. At that point I moved the infantry forward in small movements to the wall at the T-Junction. At that point it was just a matter of moving forward and taking the Farmhouse 1 VL. I then turned right to take the farmhouse 2 VL but before I got there the game ended for a Total Victory.
Canadians –
111 – Men OK
10 – Men KIA
11 – Wounded
Italians –
11 – OK
45 – KIA
20 – Wounded
2 – Missing
1 – Vehicle
It was fun learning and using the smoke properly and watching as it cleared the fire fight getting heavier and heavier and seeing the various Italian units popping up. A tense few minutes. Looking at the Italian side after the battle perhaps the addition of another Italian platoon, or even two, and a bump up in quality from -2 to -1 may make things a little more even. It looks like the gun started the scenario limbered and not deployed. Maybe start it behind a fortification (?). All in all it was a fun and a challenge to setup properly for the attack on the Farms. Thanks Canuck21 for putting this together and keep up the good work!
Thanks for this Ted. FYI (SPOILER), I did go up the right side with a platoon. If you’re really careful, you can follow the folds in the hills partway up. There is one exposed section that’s fairly small and I did a dash over that to the next valley after popping some smoke in there. I did take a couple of hits but nothing too serious. From there I was able to use the hills and forest as cover to get fairly close to the buildings on the right. From there I waited until I was sure everyone was in place on the left and centre before attacking the buildings. That gave me a good crossfire. This was possible because I kind of sat back in the centre and left and simply pummelled the you-know-what out of the main building and positions until they didn’t have a lot left. I think I took more casualties than you however (I did get caught in one spot in the centre where the cover was less than I expected), but the results were similar. However, smoke is absolutely essential in this, as is the timing of it and your movements. Does make things interesting though, as it’s not exactly a no-wind day 🙂 .
Glad you enjoyed it Ted. As I mentioned before, I’ve been rather tied up with family matters of late so haven’t got anything done. I hope that this will change this month and I can get back to designing. I may not be able to put quite as much time into them as I’d like, but hopefully they will still be entertaining. I have made notes from all your comments as I said, and those will be incorporated in scenarios going forward. Sure do appreciate your help on these. It will make a difference 🙂 .
Canuck21
Once the scenario is downloaded and unzipped, which folder do I put in? Thanks
Ummm the scenario folder?
That’s what I thought too, but I can’t find a scenario folder. There’s a data , misc, and mod tools folder but with nothing labeled as scenarios. Or is it something I’m supposed to create, like the Z folder in the data folder? This will be my first downloaded scenario from the this sight