On 13 September 1944, The Algonquin Regiment stormed the Leopold Canal and began erecting a Bailey Bridge. Can you crush the bridgehead and save the 15th Army?
The second crossing of the Leopold Canal was made on 6 October 1944 behind a wave of Wasp flamethrowers. The far bank was gained with light losses.
This scenario depicts the first crossing, three weeks earlier.
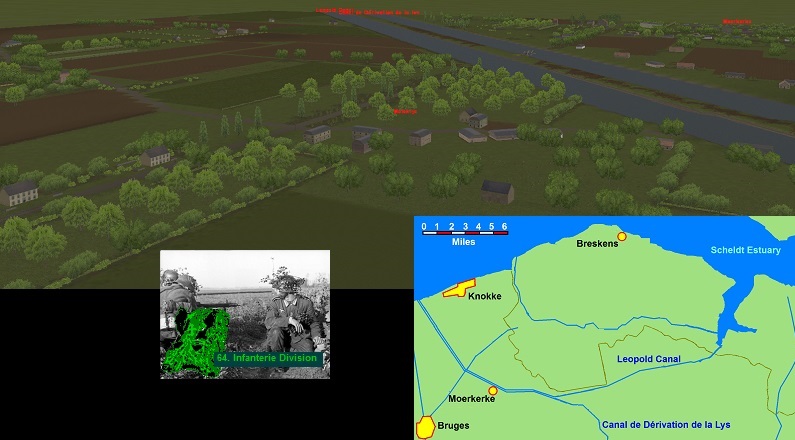
The Algonquin Regiment, one of three infantry battalions of the the 4th Canadian (Armoured) Division’s 10th Infantry Brigade, sent all four rifle companies across the Leopold Canal on the night of 13-14 September 1944. Crossing at Moerkerke, where the Leopold ran in tandem with the Canal de Dérivation de la Lys, the storm boats were plagued by navigation errors and 20mm German gunfire. All four assault companies managed to carve out a bridgehead on the far bank, but it was smaller than anticipated, and the flooded terrain that was supposed to protect one flank was found to be dry.
Both sides exchanged shell and mortar fire as the obligatory German counter-attacks began. The safety of the entire German 15th Army was at risk, as their path of retreat to the safety of Scheldt Fortress North was in danger of being cut off if the Allied bridgehead could be expanded.
This solo mission puts the player in command of the German forces, with orders to destroy the bridgehead, and stop Canadian engineers attempting to bridge the canals.
Map size: 1296 x 1360m
Game length: 100
German force size: Battalion
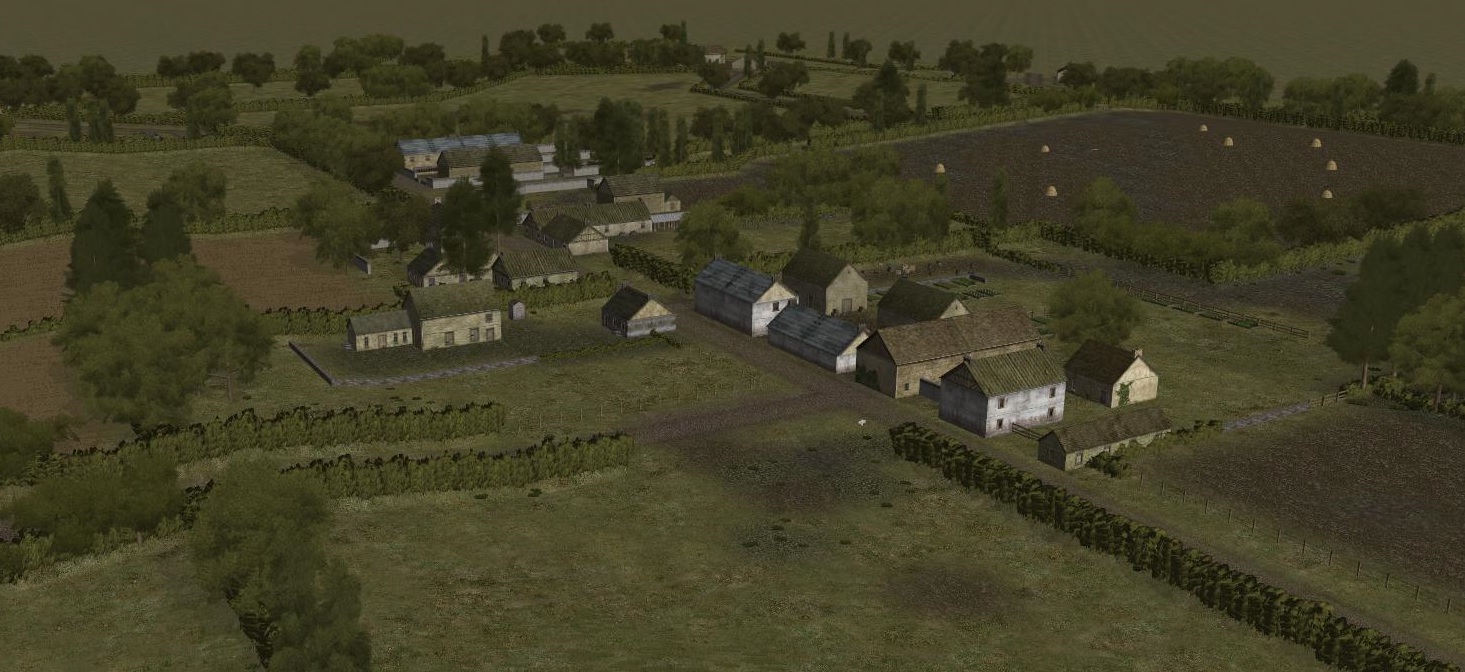
Terrain type: Dutch* Rural (town, canals)
Weather and Environmental conditions: Mist
Designed for play as German vs. AI. May also be suitable for H2H – briefing included for the Allied side, but no AI plan for German side.
Feedback welcome. Designer’s notes included in scenario file.
*Though the terrain in the editor is set to “Holland”, Moerkerke was actually just south of the Dutch-Belgian border.

A very interesting battle. A battle plan is essential!!!!! Great challenge. Although achieved a tactical victory, felt it was a very poor effort on my part. Excellent design and setup. Biggest decision is to attack from setup, or scout and consolidate for a concentrated attack. I would definitely suggest the latter if you wish to minimize casualties. Nearly all of my troops were broken at battle’s end.
Thanks for trying this out and commenting!
Michael, I really appreciate the work that goes into making one of these, and commenting on them when I play them is a requirement, as far as I’m concerned. Would be happy to “test” another one from you.
This was an enjoyable “infantry only” scenario. It’s a bit confusing whether it is meant to be played as Axis or Allied. Here it’s clear the human ought to be the Axis, but in the Scenario itself, it appeared to me that I was supposed to be the Allies against the AI. I started as the Allies, but when nothing seemed to be moving, I switched to the Axis. Obviously, that gave me insight into the likely Allied deployment and though I tried to play as though that wasn’t the case, it probably helped me win a pretty handy victory (though the AI script was pretty good and surprised me in how it shifted its forces in realistic ways). I really liked how the scenario geography encouraged and rewarded using infantry heavy weapons (MGs and attached mortars) to support attacks. Also, why were there no Canadian MGs or mortars larger than the little platoon tubes? Commonwealth infantry seems to be at a severe disadvantage facing down Germans on a squad per squad basis. Another thing I noticed that worked great for me, but didn’t help the AI was how the 4.0 update moves infantry out of position when they get hit by indirect fire. For my main attack I laid down a smoke screen across my line of advance and also a high tempo mortar barrage over the entire general area of the Allied positions behind the smoke. Then I sent the infantry in. My first company did get pretty beat up when it cleared the smoke, but the mortar barrage pushed somewhere between a third and a half of the Allied infantry out of their fighting positions and definitely contributed to the success of my attack.
Played it as PBEM, it is challenging and fun battle, had to keep an eye on the clock.
Thanks for making it
Is the bridge meant to be destroyed? lol